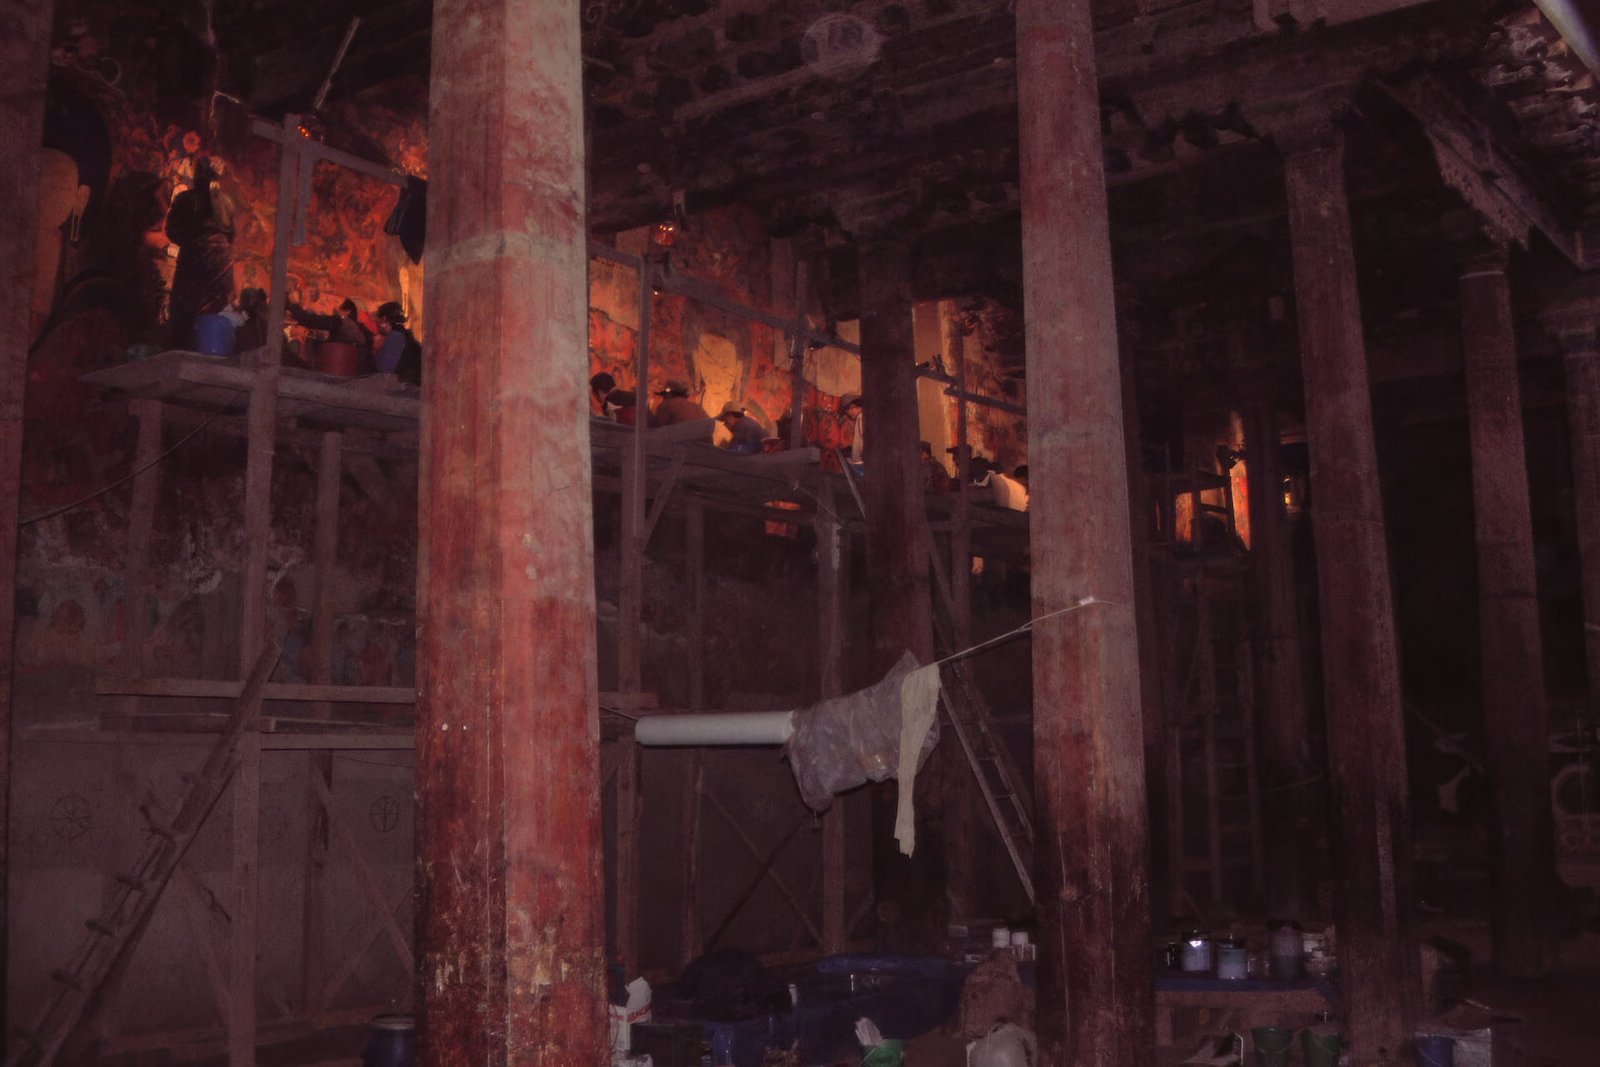
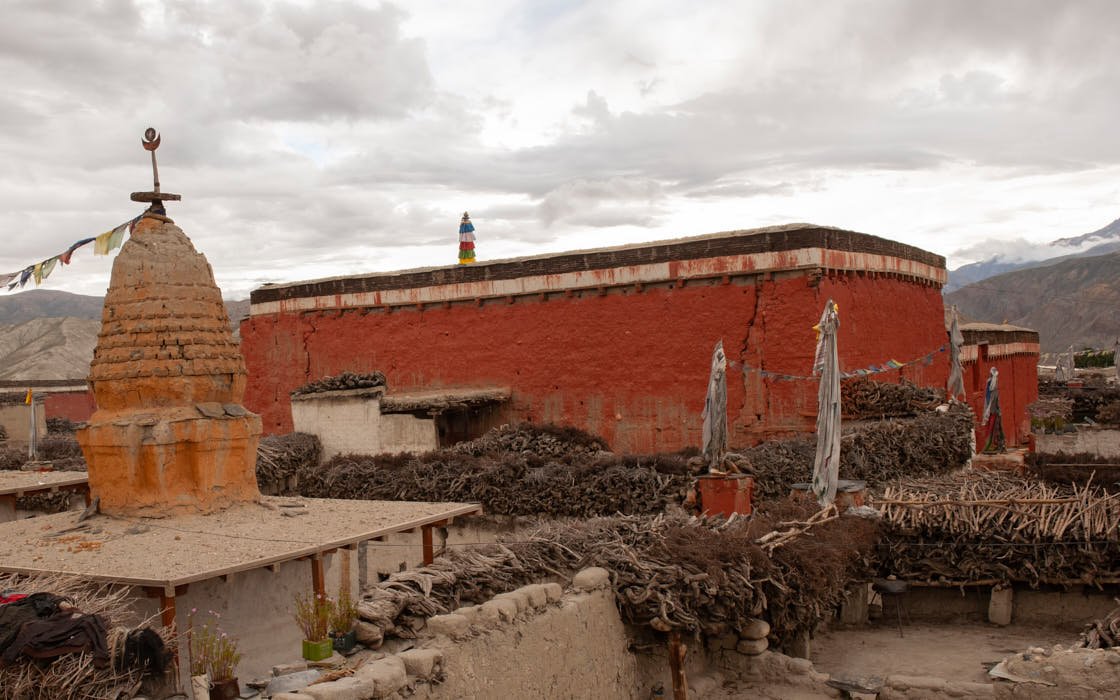
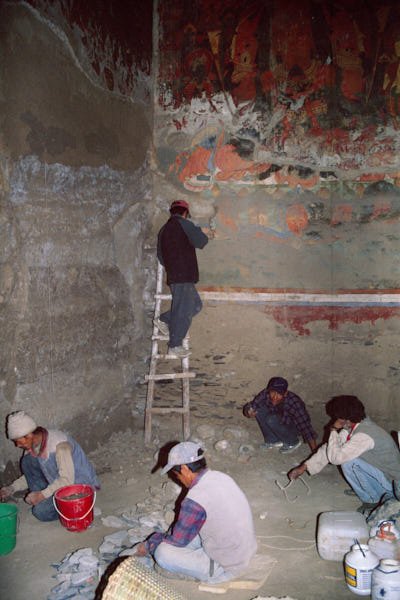
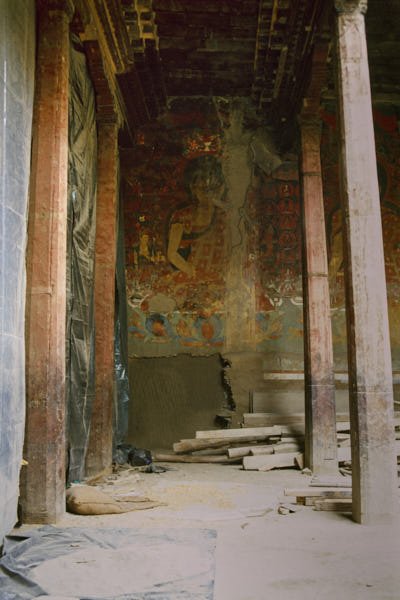
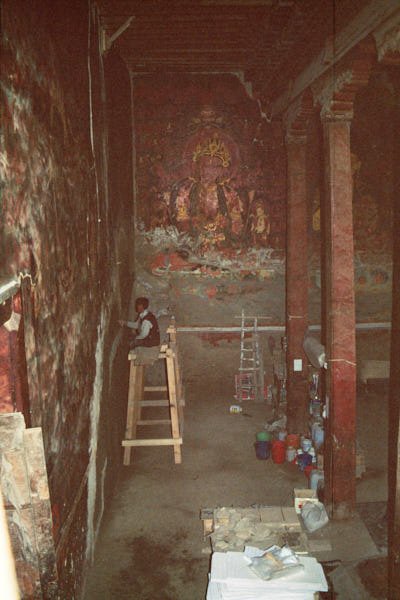
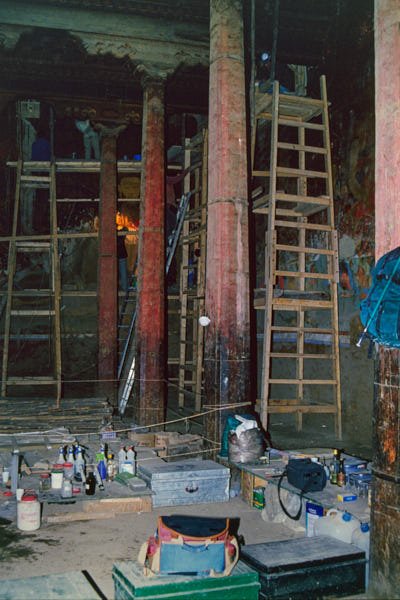
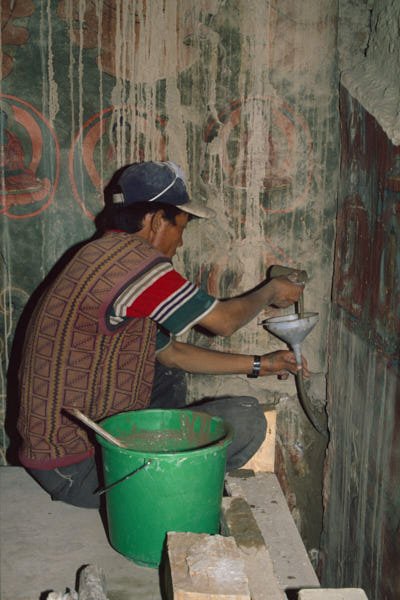
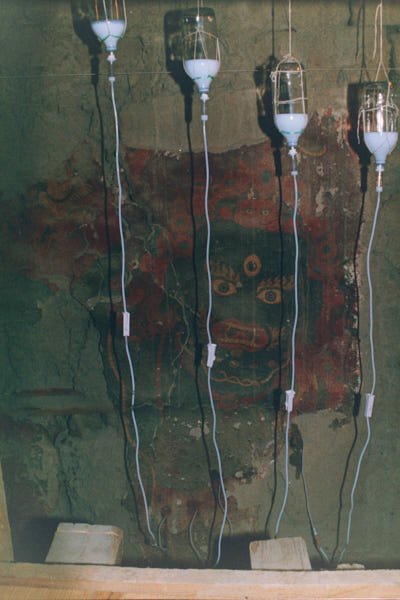
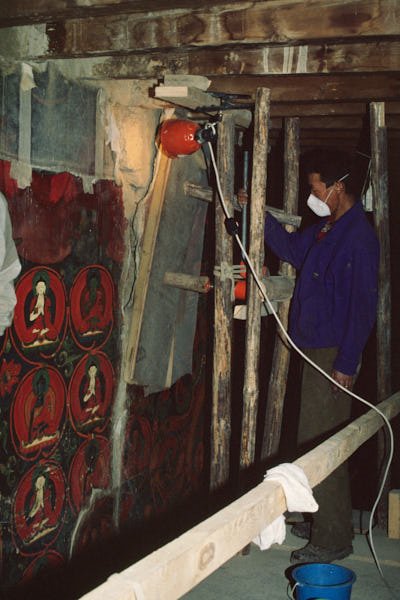
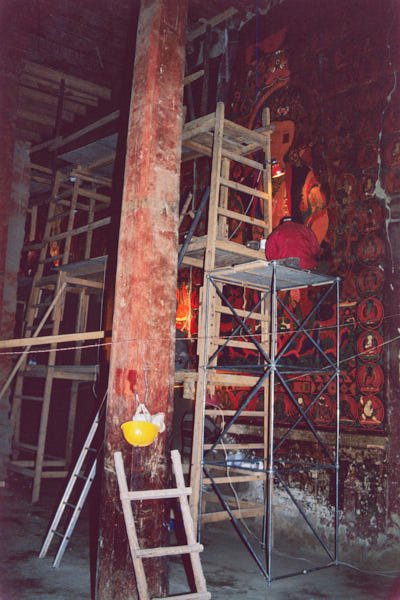
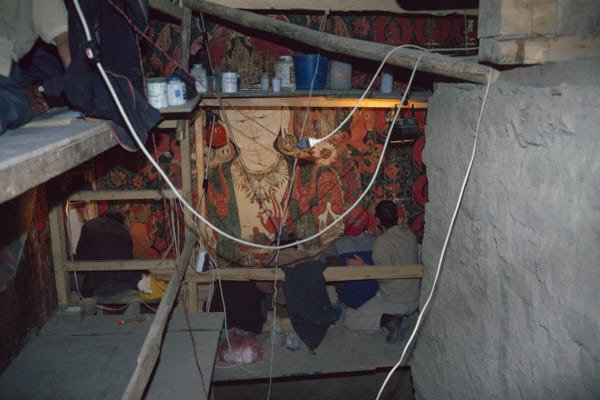
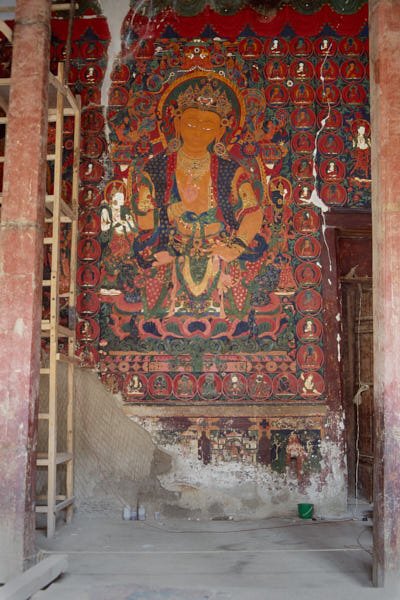
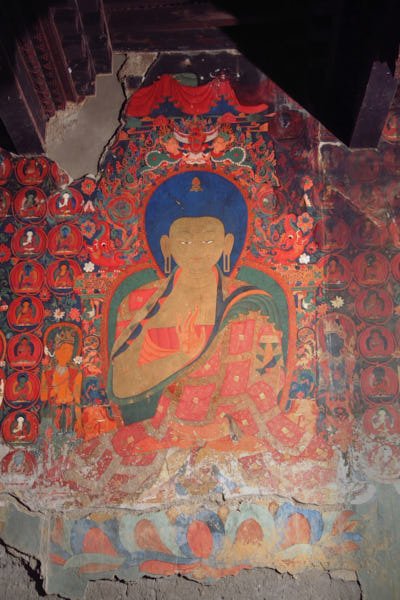
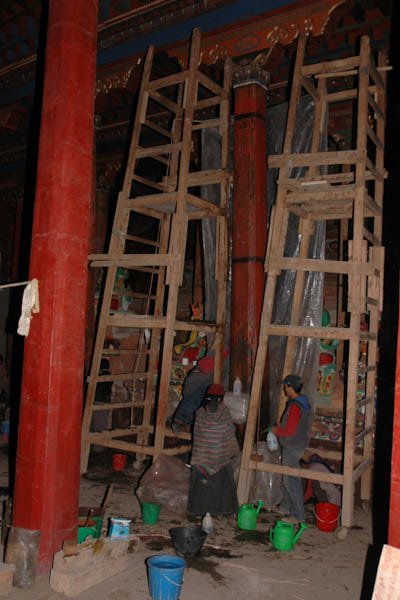
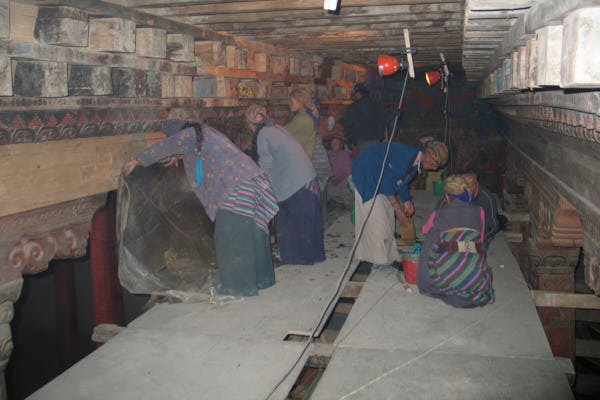
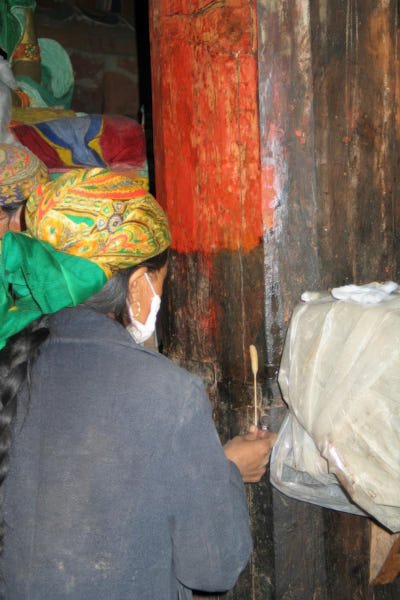
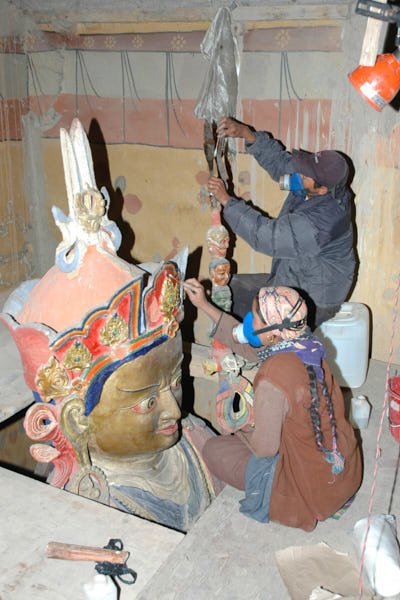
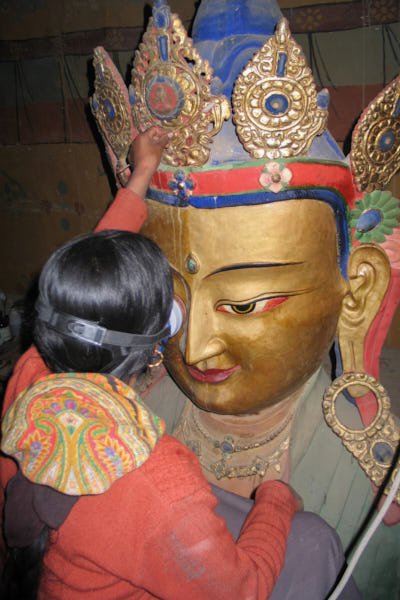
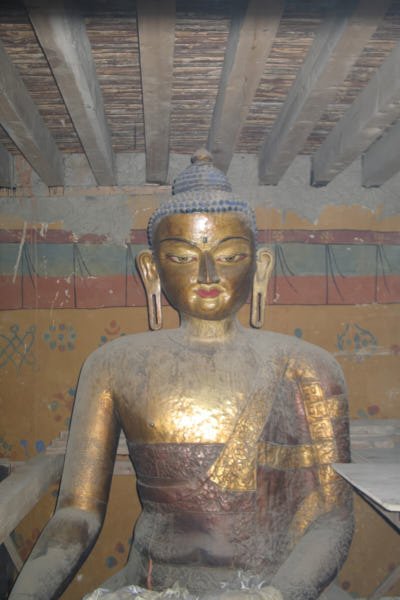
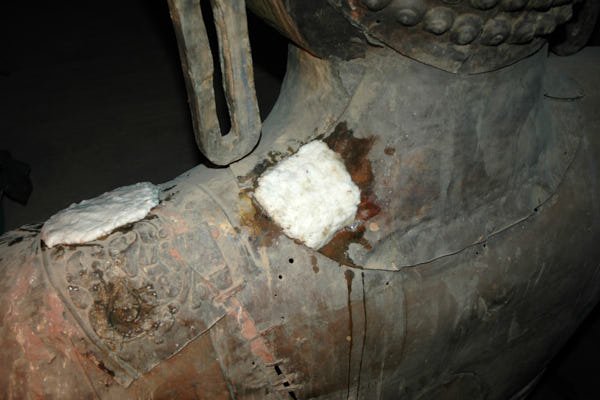
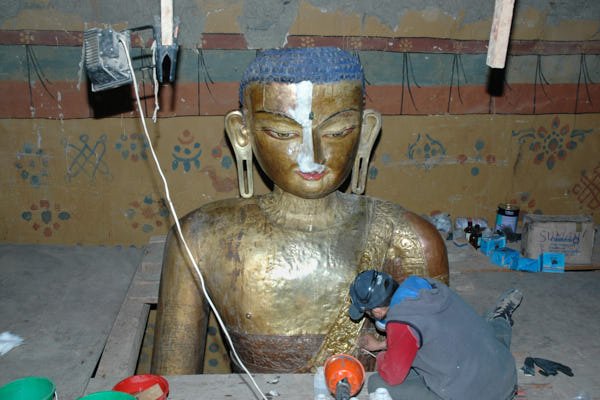
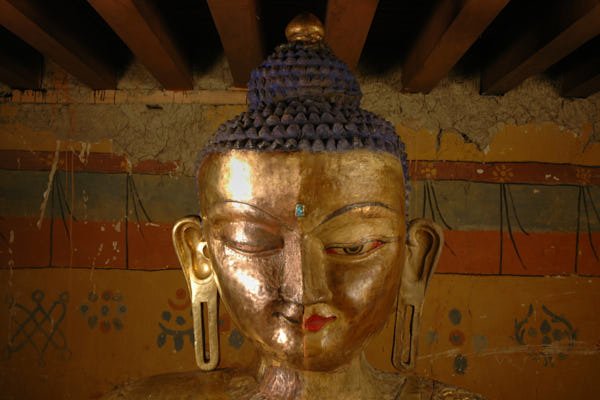
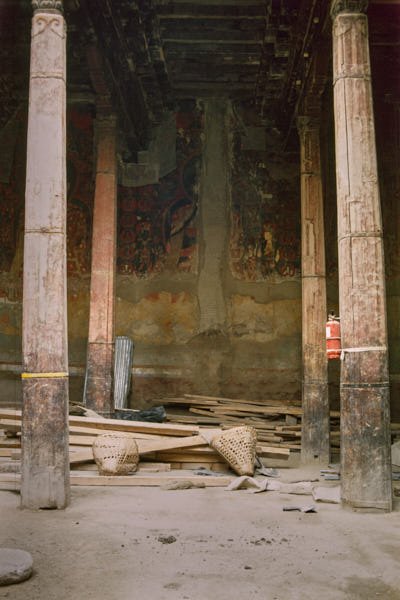
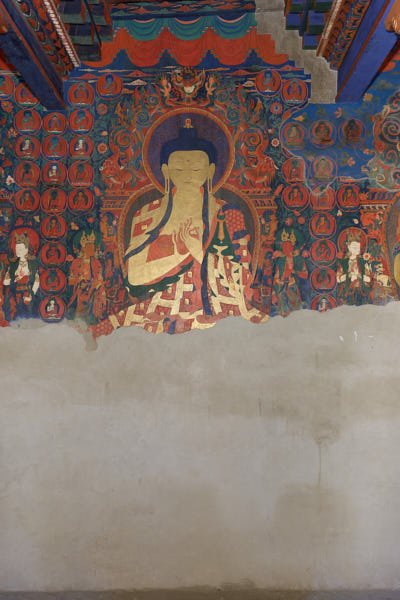
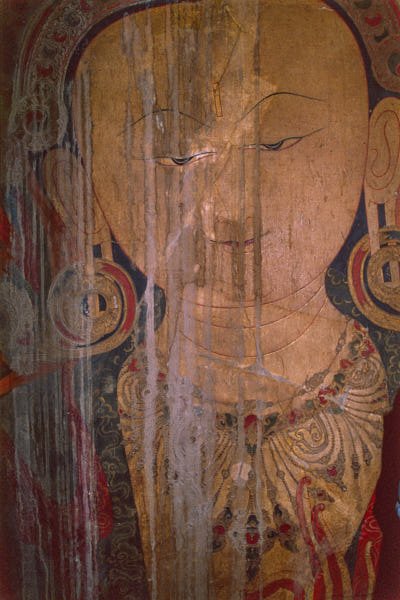
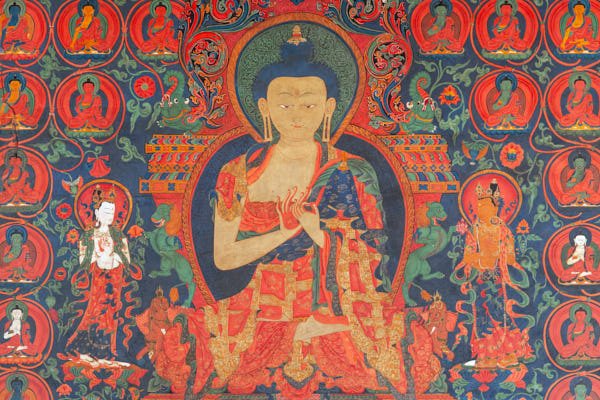
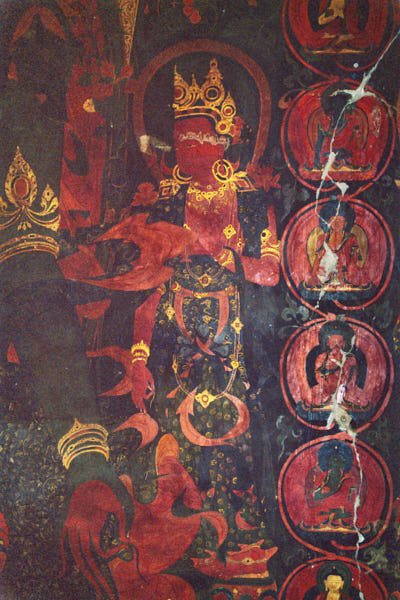
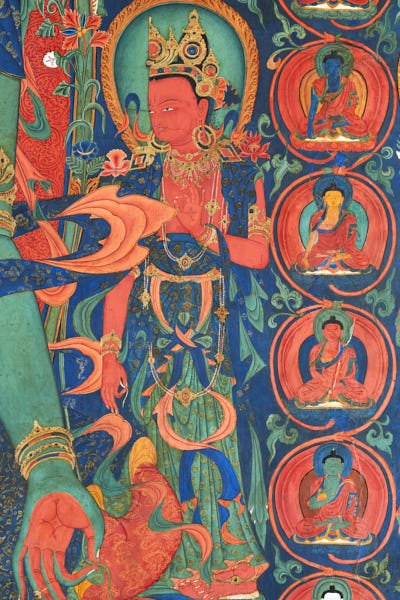
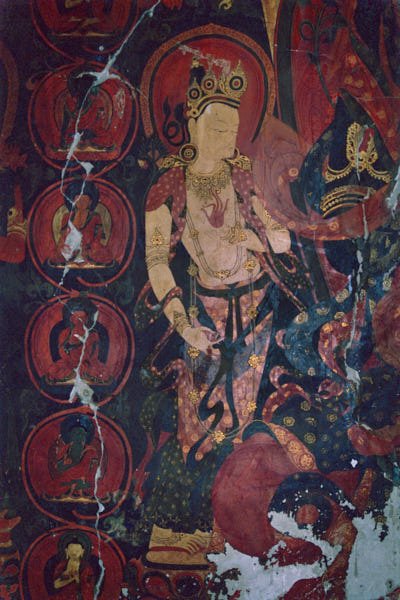
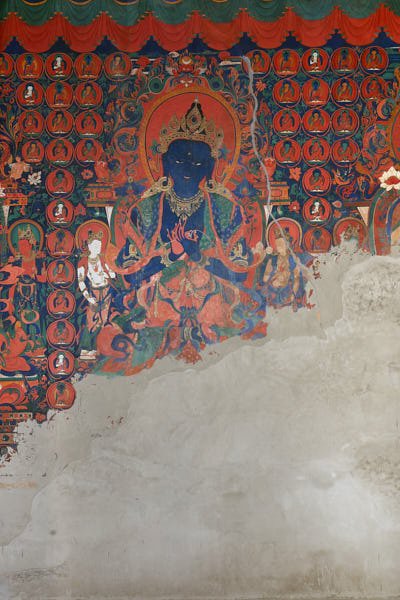
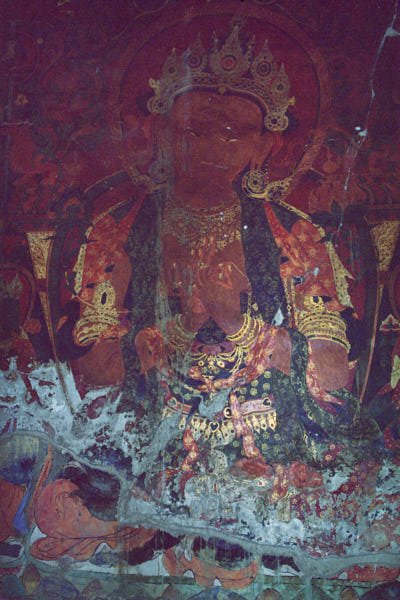
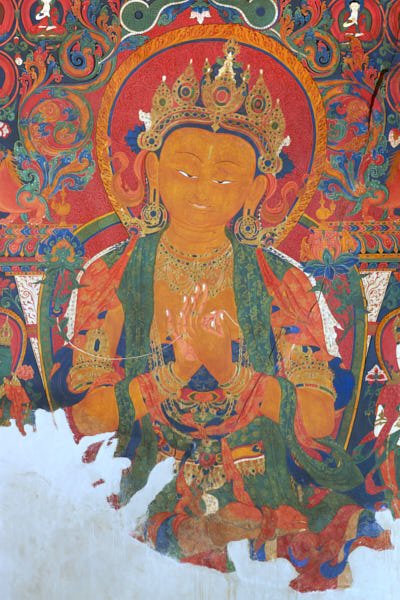
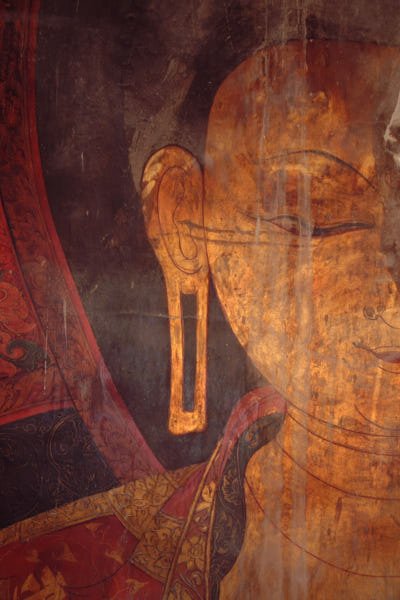
Many sections of the wall paintings were at such risk of collapse that the work began with their consolidation. All risky areas were protected with special gauzes, temporarily glued on their surface, to protect the painting during the phase of fixing the preparatory layers beneath. The delicate process of consolidation and fixation of the renders and of the paint layer was completed after two years of mortar injections and plastering.
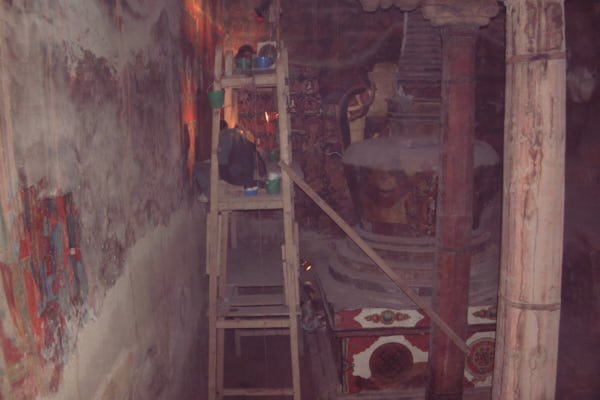
In some cases specific supports had to be assembled on site so as to prop up the wall paintings during the re-adhesion procedure. In other cases, to consolidate a wall at risk of collapse, some detachments of wall paintings (stacco) were carried out. During this process, additional old paintings were found inside a portion of a recently built wall. Unfortunately, the new wall could not be dismantled and so the ‘staccos’ were mounted on a mobile support and placed in an adjacent museum to be.
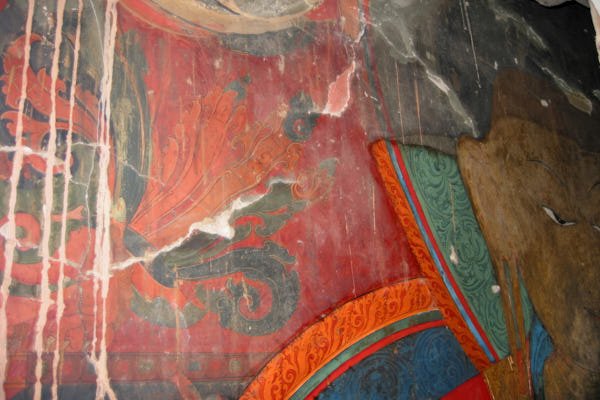
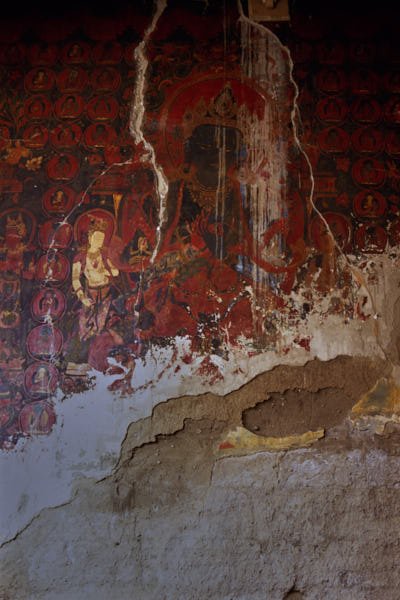
The consolidation: cracks that passed through the walls were firstly cleared from former superficial plastering and thence dust and debris of various nature (bones, straw, skulls, dried manure, feathers, flees, etc.) were removed. Once cracks were perfectly cleaned with an air compressor, these were filled up to a certain point with a mud-based plaster and cut stone, inserting plastic pipes at regular intervals in order to pour the grouting material later on. The grouting material consisted in a mixture of local clays, water and a PVA binder added in a low percentage so as to obtain a viscous and dense grout. The filling of cracks consisted in wetting abundantly the interior of the crack by injecting a surfactant solution through the pre-set plastic pipes. The grout was then poured through these pipes for filling the gaps. Once dried, the pipes were removed and another plaster layer was applied under the level of the paint layer.
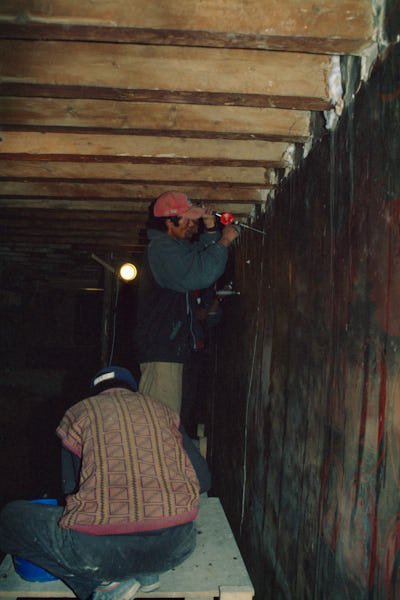
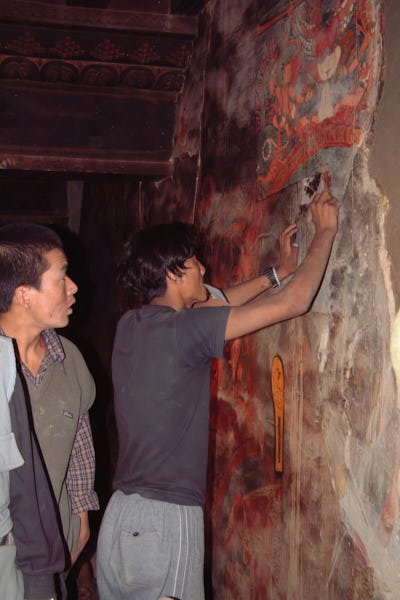
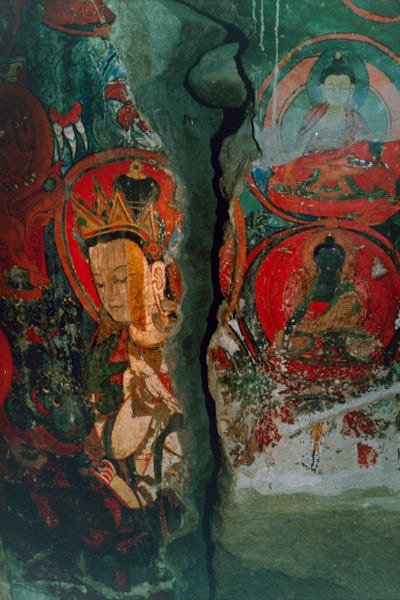
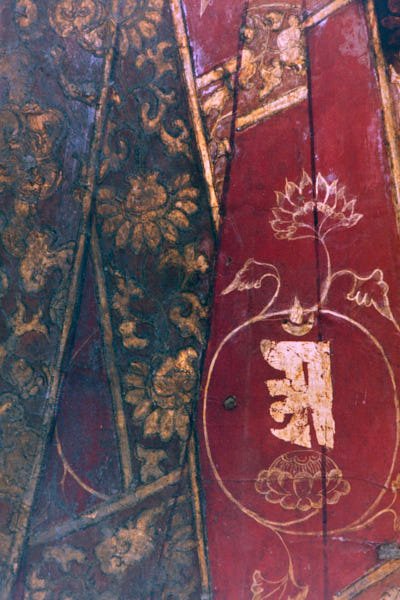
Then the work concentrated on fixing the preparatory layers. Through aging, earthquakes and some time mistakes in the technique of preparing or applying the plasters, it happens that these preparatory layers detach from one another. This creates random gaps between layers, which can cause the paintings to fall off with time. It is then necessary to fill all these gaps to reconstitute stability to the support of the wall paintings. Tapping with knuckles easily identifies the gaps. When doing so, a gap is found by the different sound the tapping produce. When a gap was found, we had to pierce the murals using hand-drills and reach the gap. Then the gap was cleaned by hand-syphon: in this way a slight vacuum would extract all debris. A surfactant solution was then injected to allow the glue to spread more evenly through the gap. When the gap was very small, it was enough to inject an acrylic binder solution. When the gap was larger, this binder had to be mixed up with clay, thus producing a mortar that would fill up the gap.
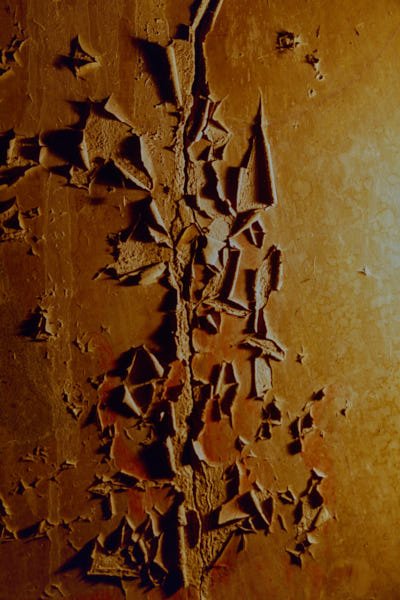
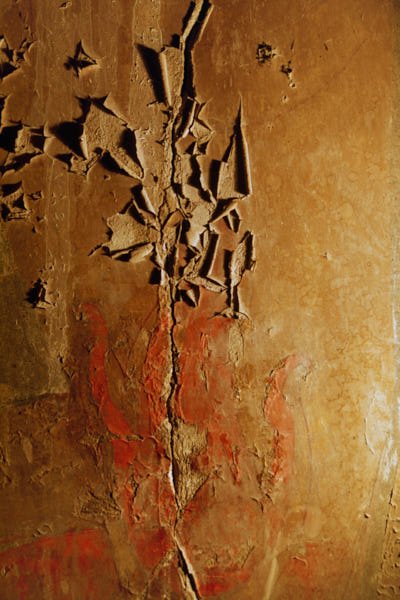
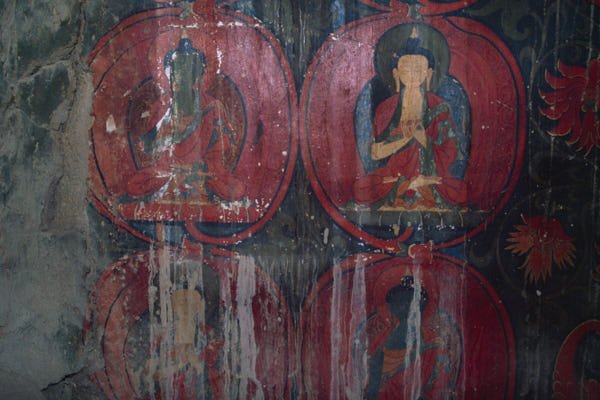
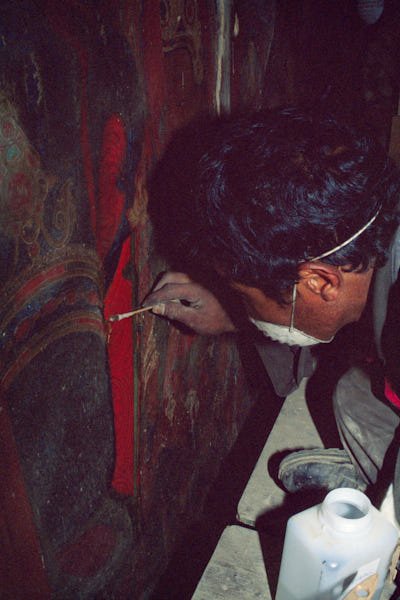
In addition, very large flakes of paint layer were present randomly all over the wall paintings. These flakes of paint layer were firstly softened by a surfactant solution. Then an acrylic solution was injected under the paint layer scales either by syringe of by soft pointed paintbrushes. Japanese tissue paper was subsequently applied on the area to be trated and the paint layer flakes were pressed back in position through the use of slightly wet cotton swabs.
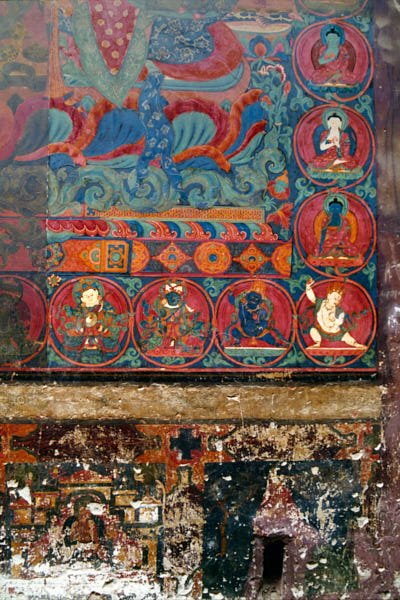
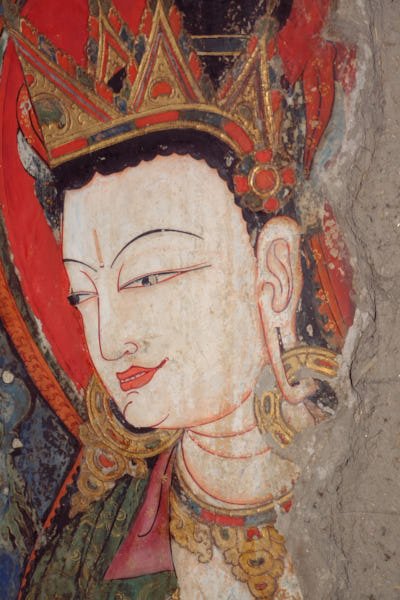
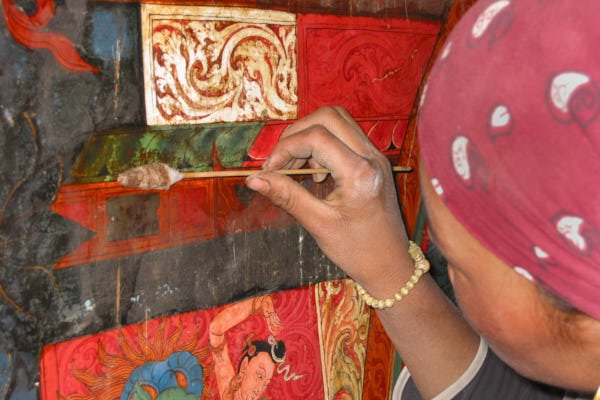
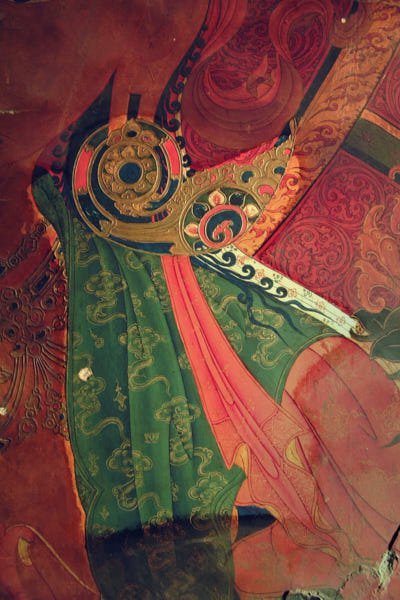
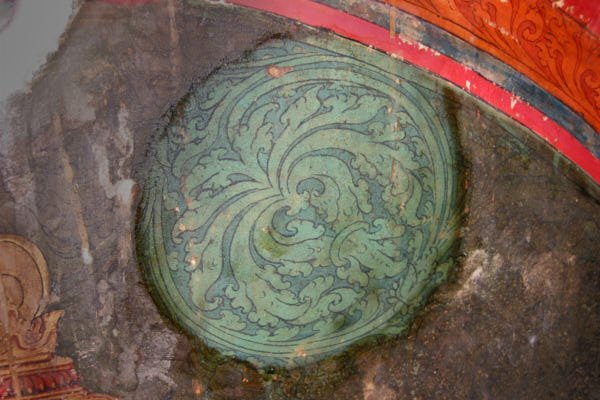
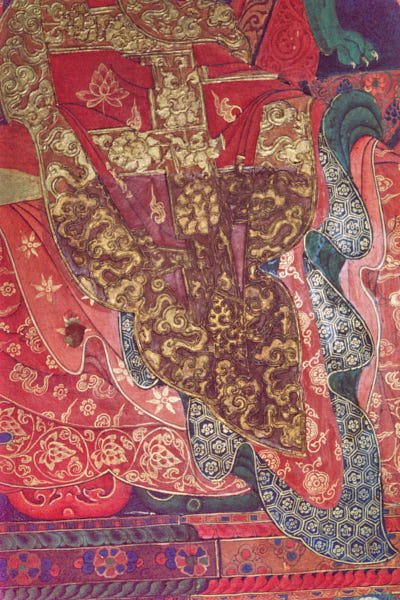
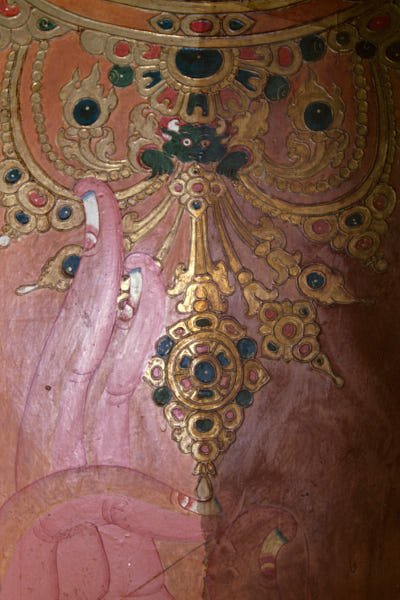
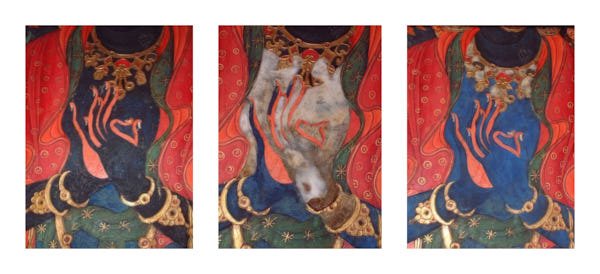
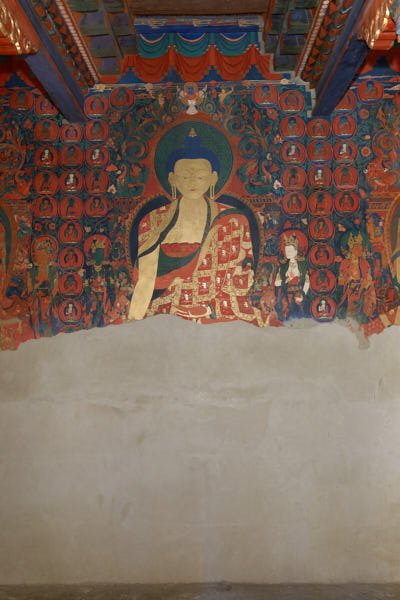
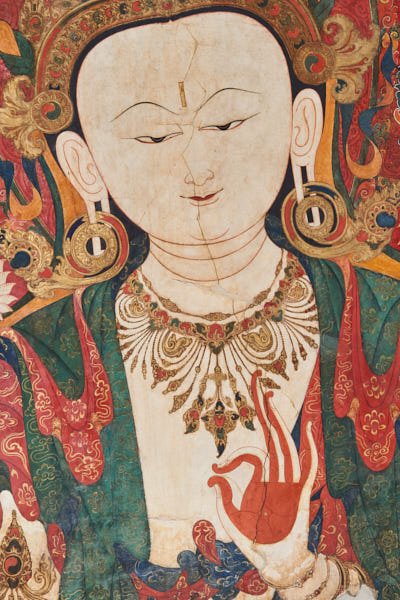
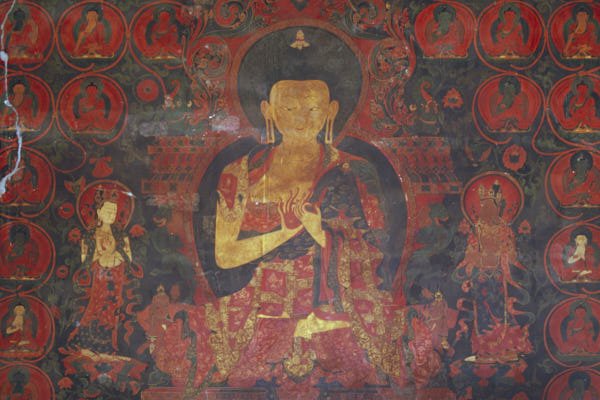
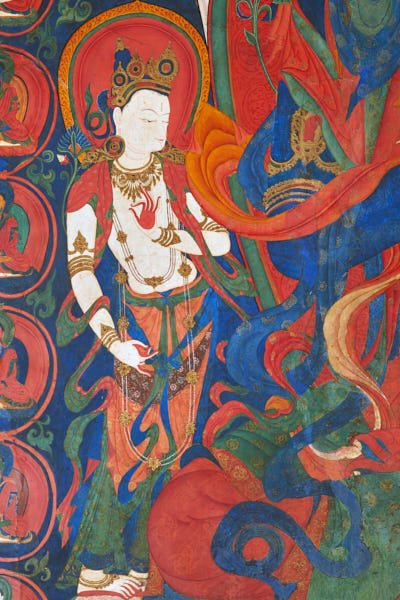
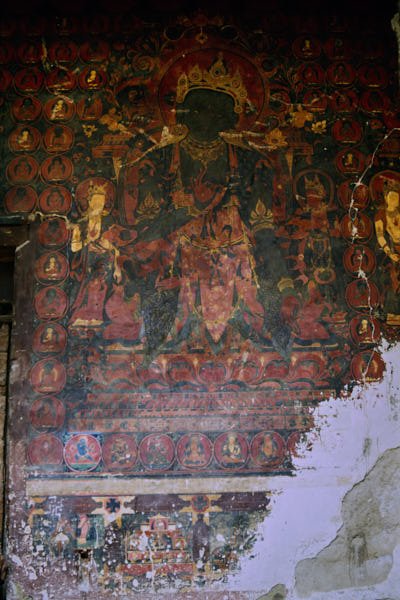
Cleaning procedure: this task was a highly complex procedure. After laboratory analysis were carried out, it was possible to identify the composition of both the pigments employed by the artists as well as the dirt to be removed. In that way, we were able to determine an effective cleaning method. The original coating of varnish applied in the 15th century altered so much due to aging that the paint layer was completely darkened by it while centuries of butter lamp smoke and grime had turned the upper sections of the paint layer nearly black. In addition, large areas of the original paint layer bordering with a recent stone buttress were heavily overpainted and some sections of new paint had covered the original murals as well. Given the different reaction of the pigments to the use of the same chemical, every color often required the use of a different process and solvents to remove both the varnish, the grime deposits and the overpaintings. The use of Japanese tissue paper and/or cotton compresses soaked in different chemicals yielded a homogeneous cleaning while still protecting the paint layer. To clean the gilding and the embossed gilt jewelry, a special cotton compress, soaked in organic solvents, was applied for a long time to the exceedingly resistant varnish.
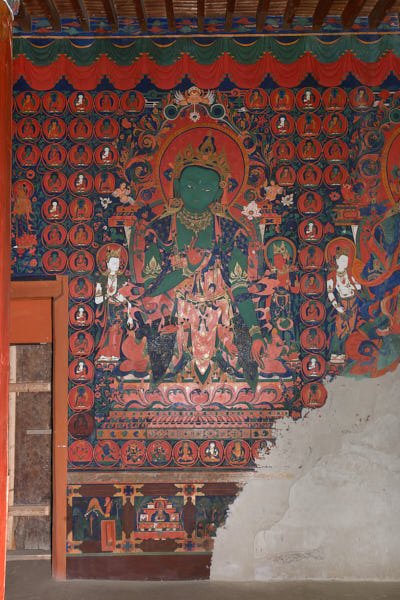
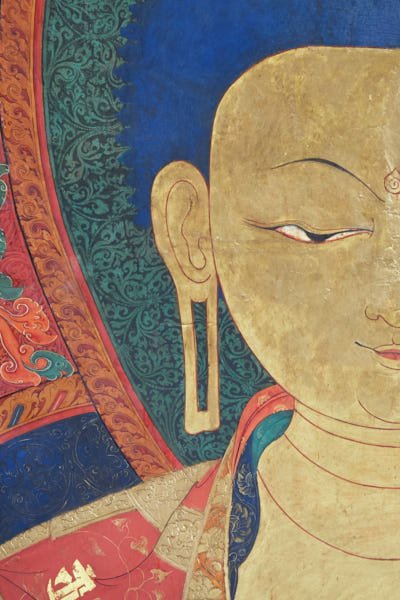
Pictorial integration: the retouching process was organized following two different methodologies: touch up and reconstructions. The former, used mostly in all walls, was meant to tone down abrasions and small losses of paint layer in order to balance all colors. This task was performed using a selected series of watercolors with minimal light sensitivity. The latter, proposed and later approved either by John Sanday Associates and Rodolfo Lujan Lunsford was to reconstruct a large area in the upper register of the east wall's northern side and two very damaged Buddhas in the south wall. The reconstructions were made possible by coping original elements from the pictorial cycle and by making them anew in the required areas (e.g. the half head of a Buddha or his robe). So, when all required elements for a reconstruction of the paint layer were found, life-size sketches were drawn on tracing paper and the drawing transferred to the wall with the spolvero technique. Natural pigments mixed with Arabic gum were then used as base-colors for covering the wide lacunae and the large cracks to be reconstructed. The new paintings were then completed with watercolors and fake gold where needed.
Upon completion of the conservation work in 2004, the paint layer was protected by spraying a very diluted solution of Paraloid B72.
