rinchenling gonpa

view of Halji Gonpa's Entrance

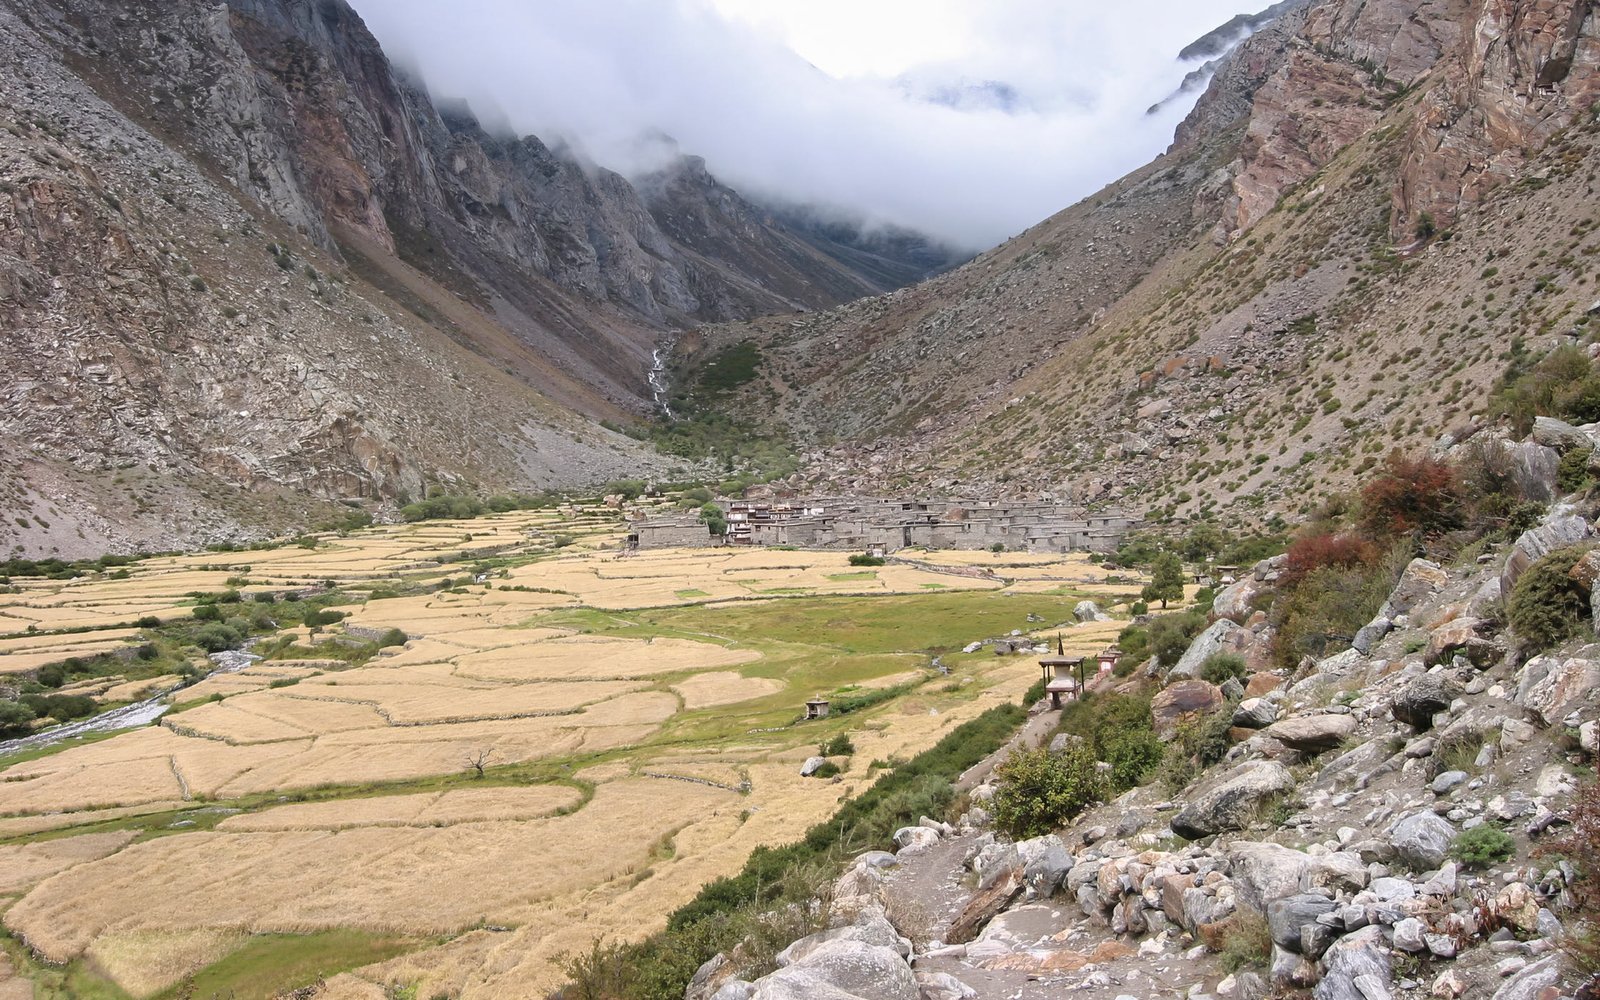
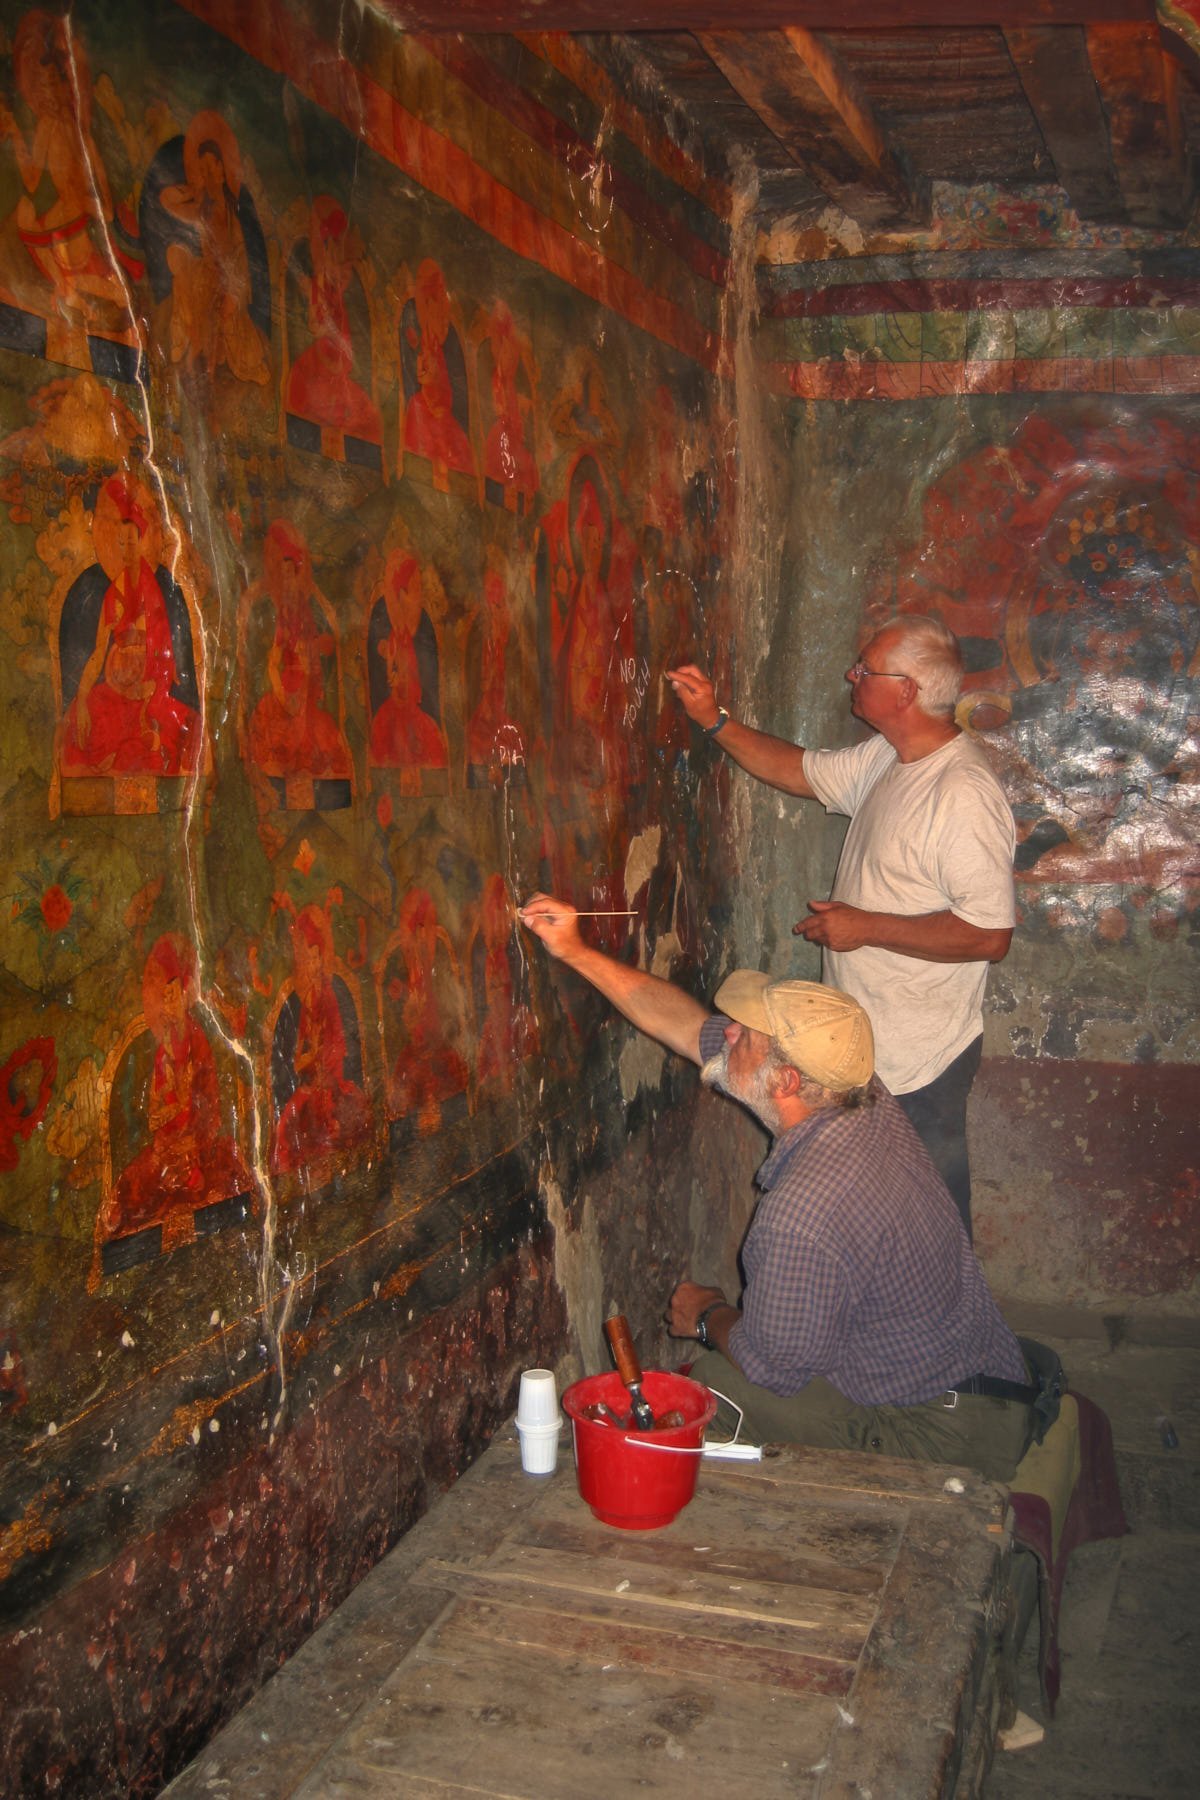
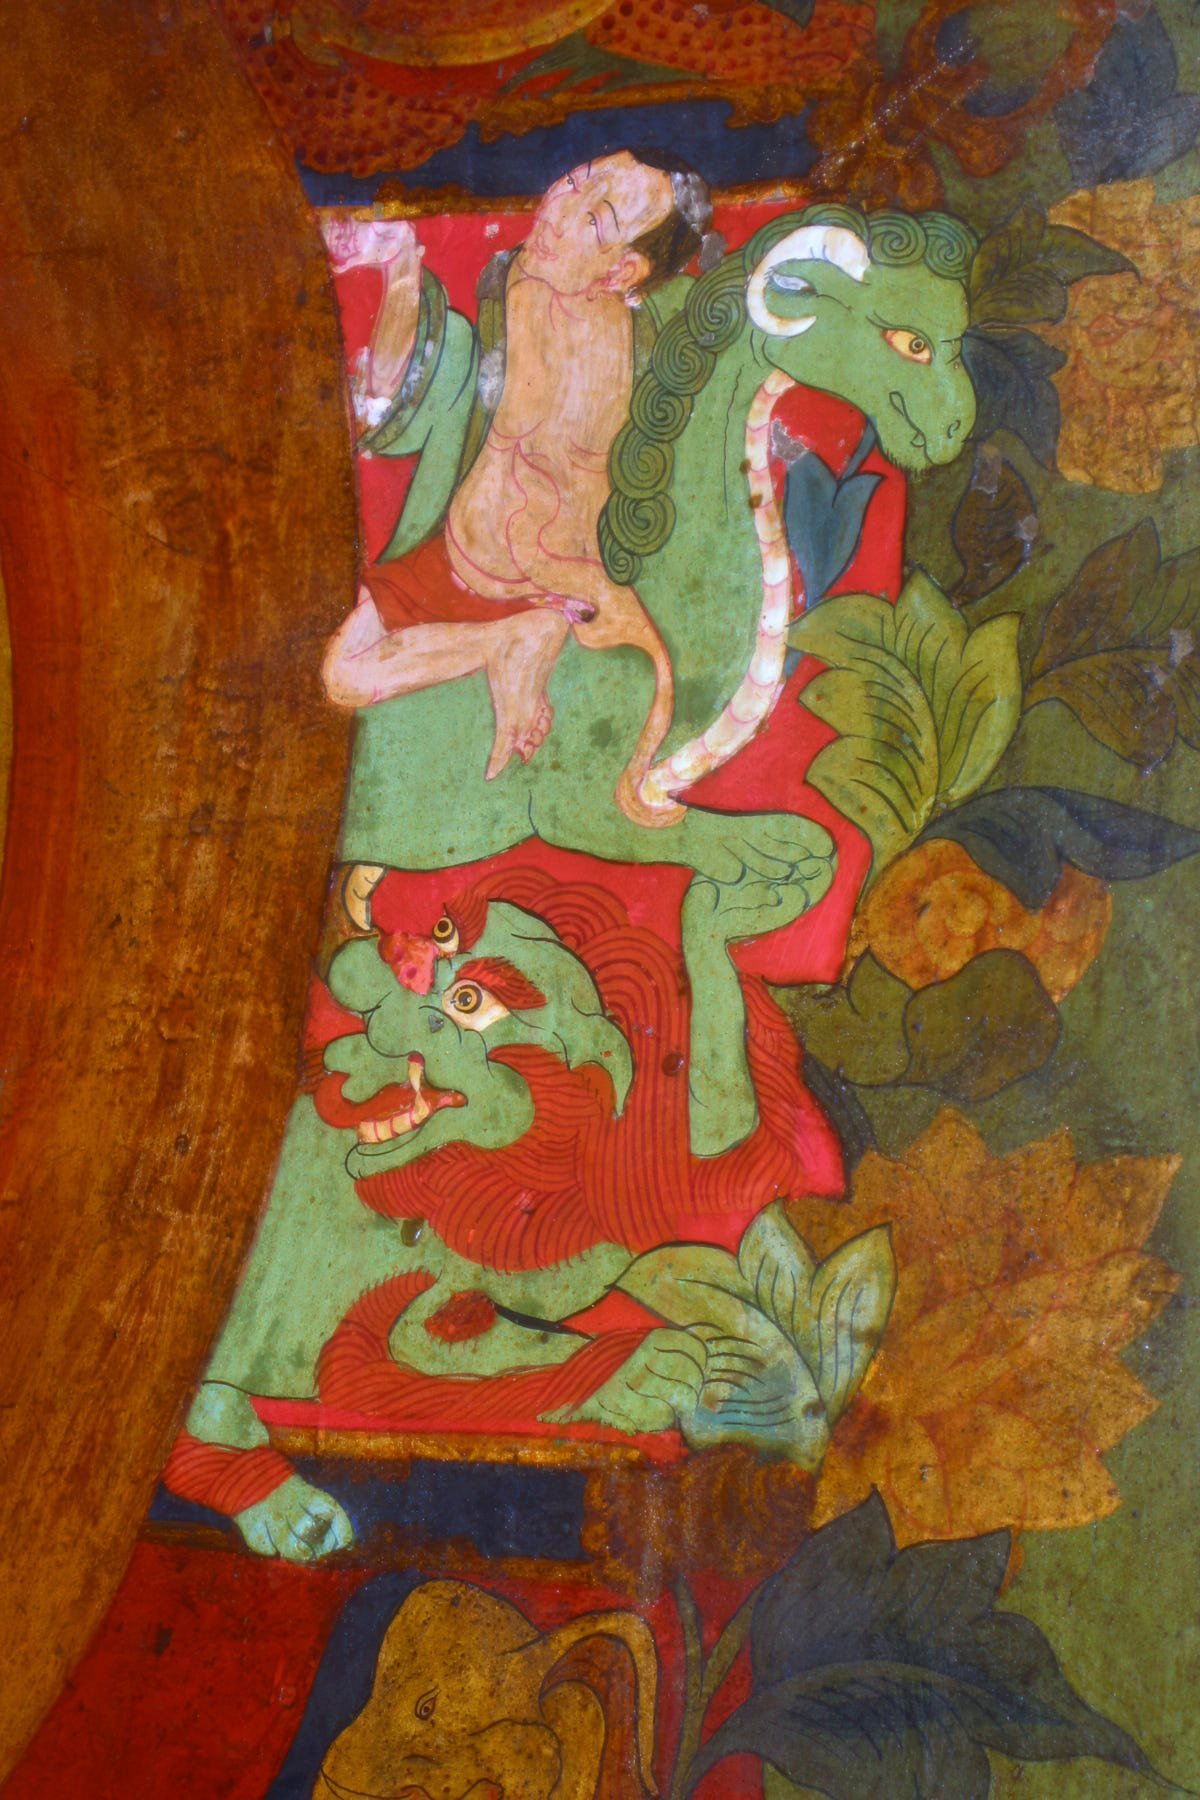
The worksite was located in Limi Valley, Humla district, and used to be reachable only after a long trek from Simikot. The 8-10 day walk would lead to the village of Halji, located at 3,600 meters. Even though the foundation of rinchenling monastery dates back to the 10th century, only a few of the artifacts within the monastery can be considered contemporaneous.

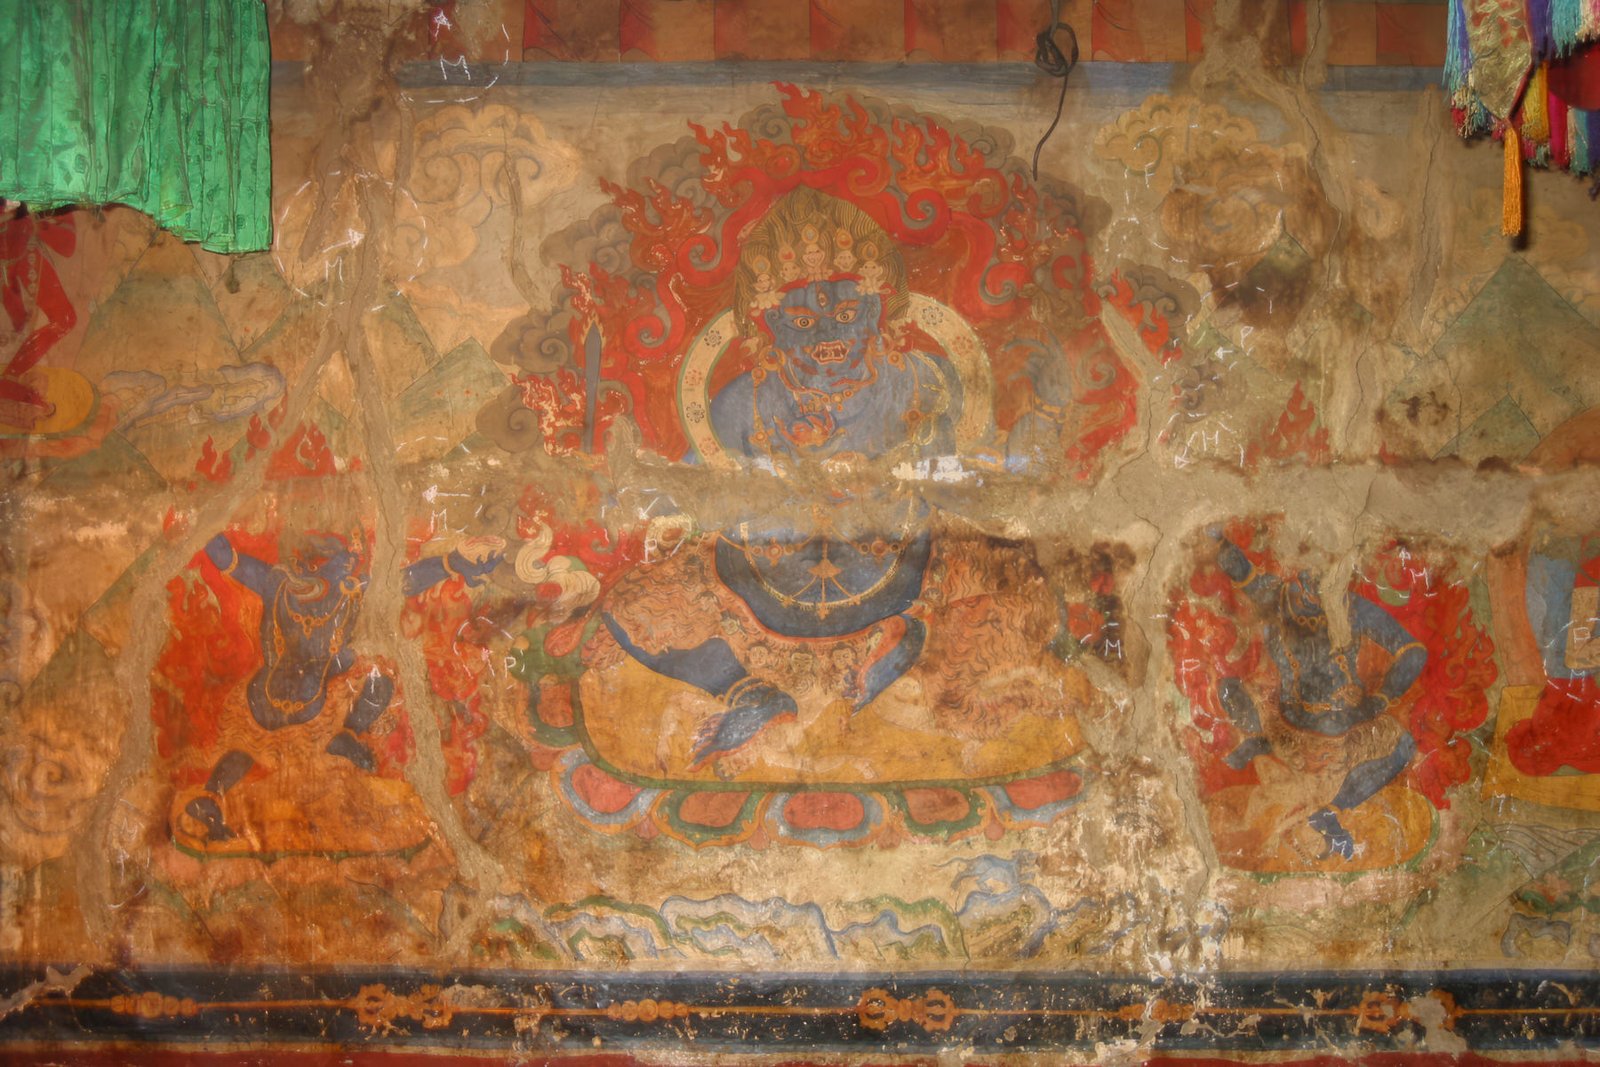
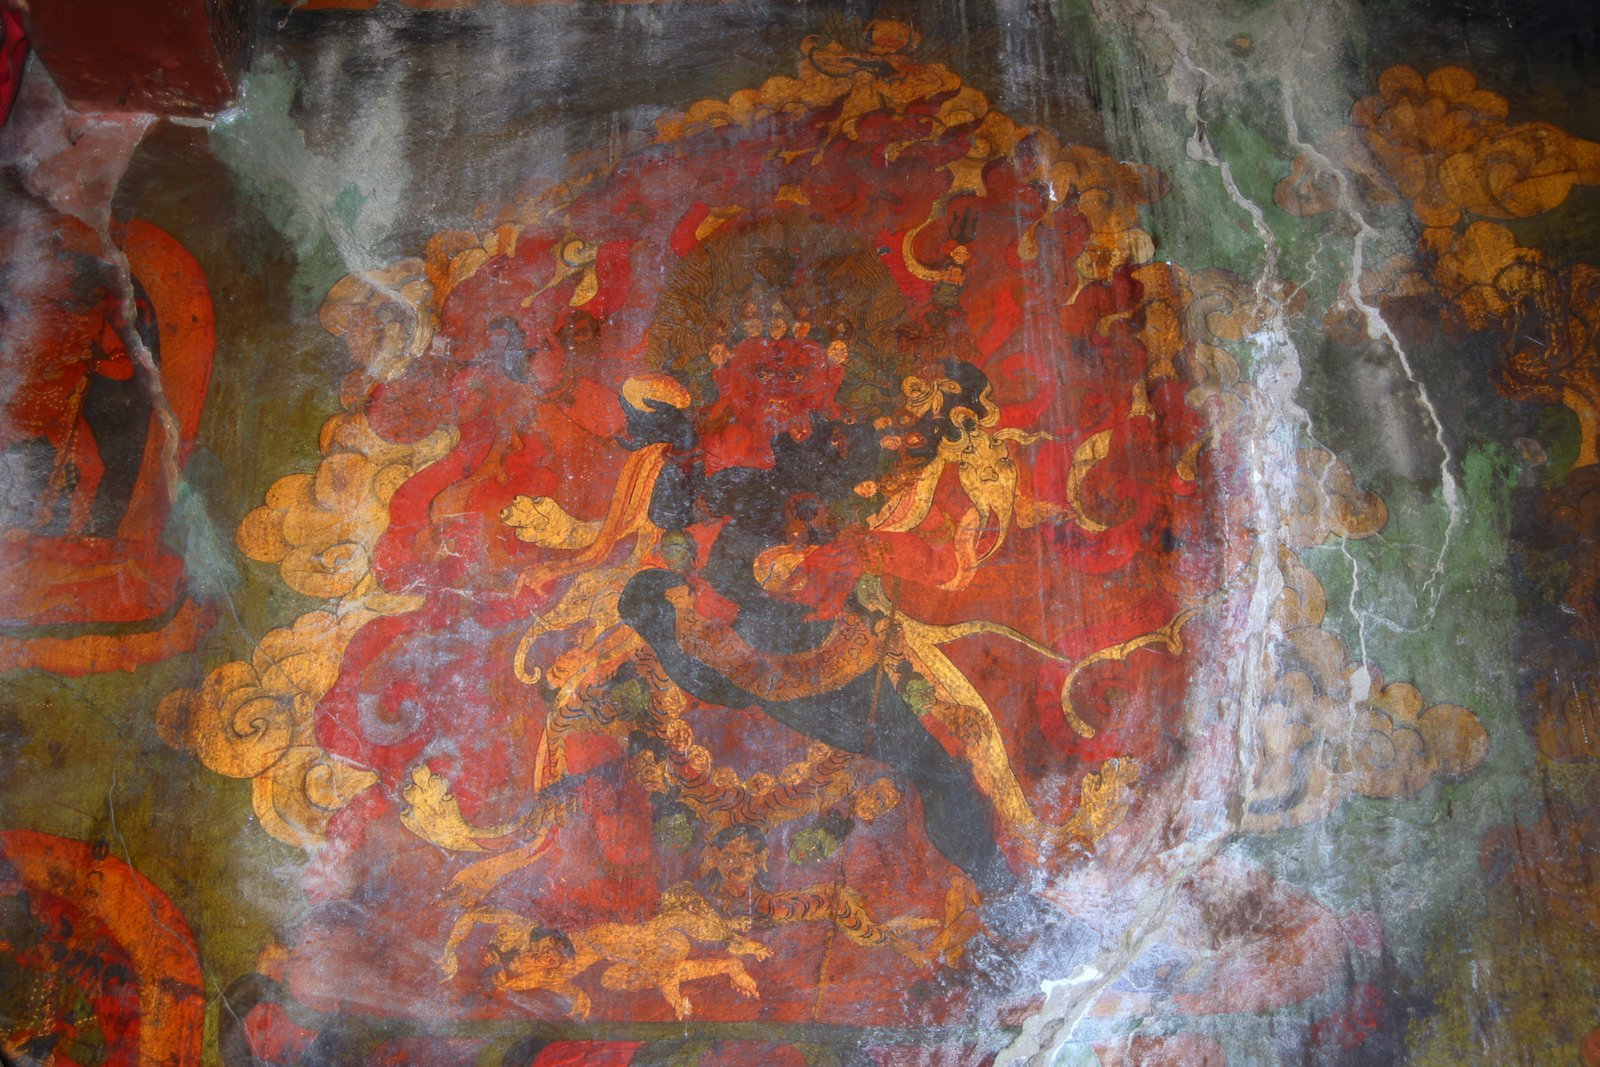
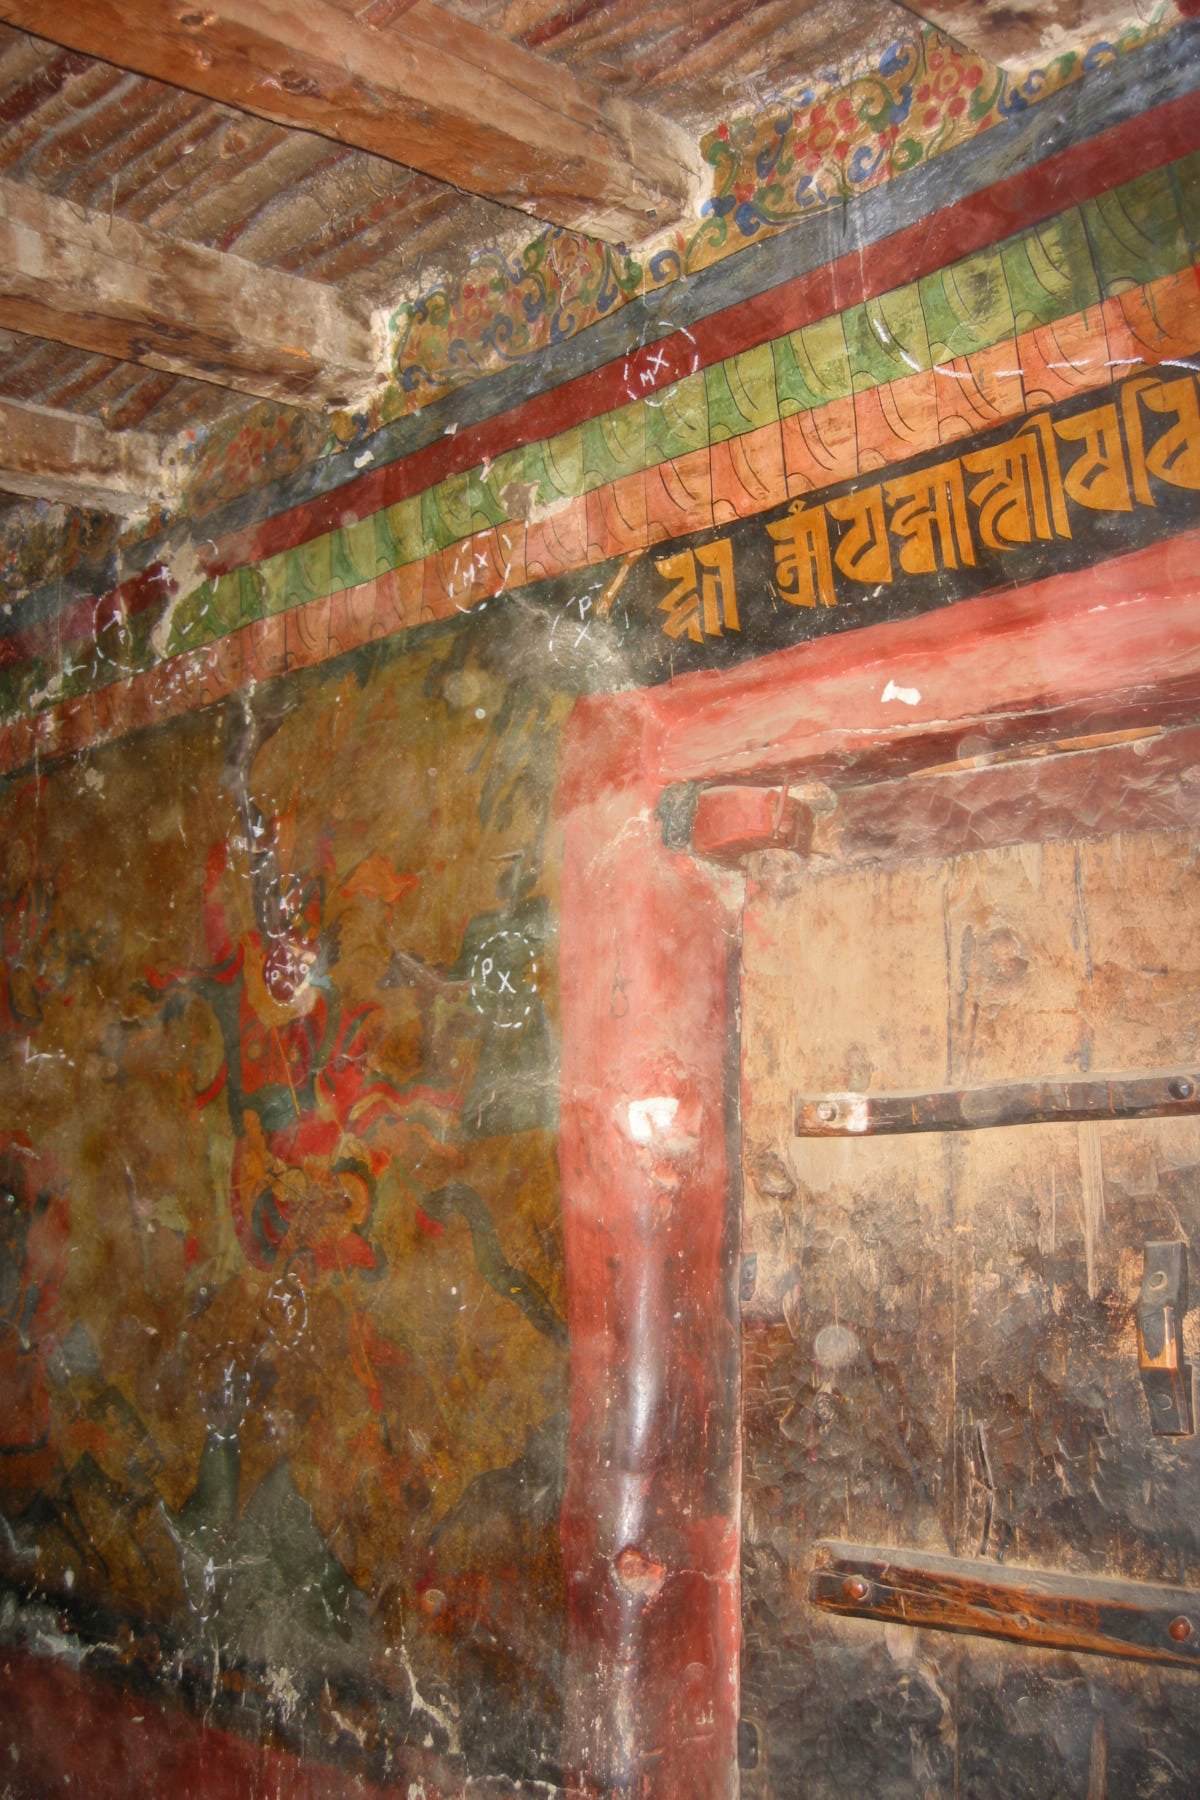
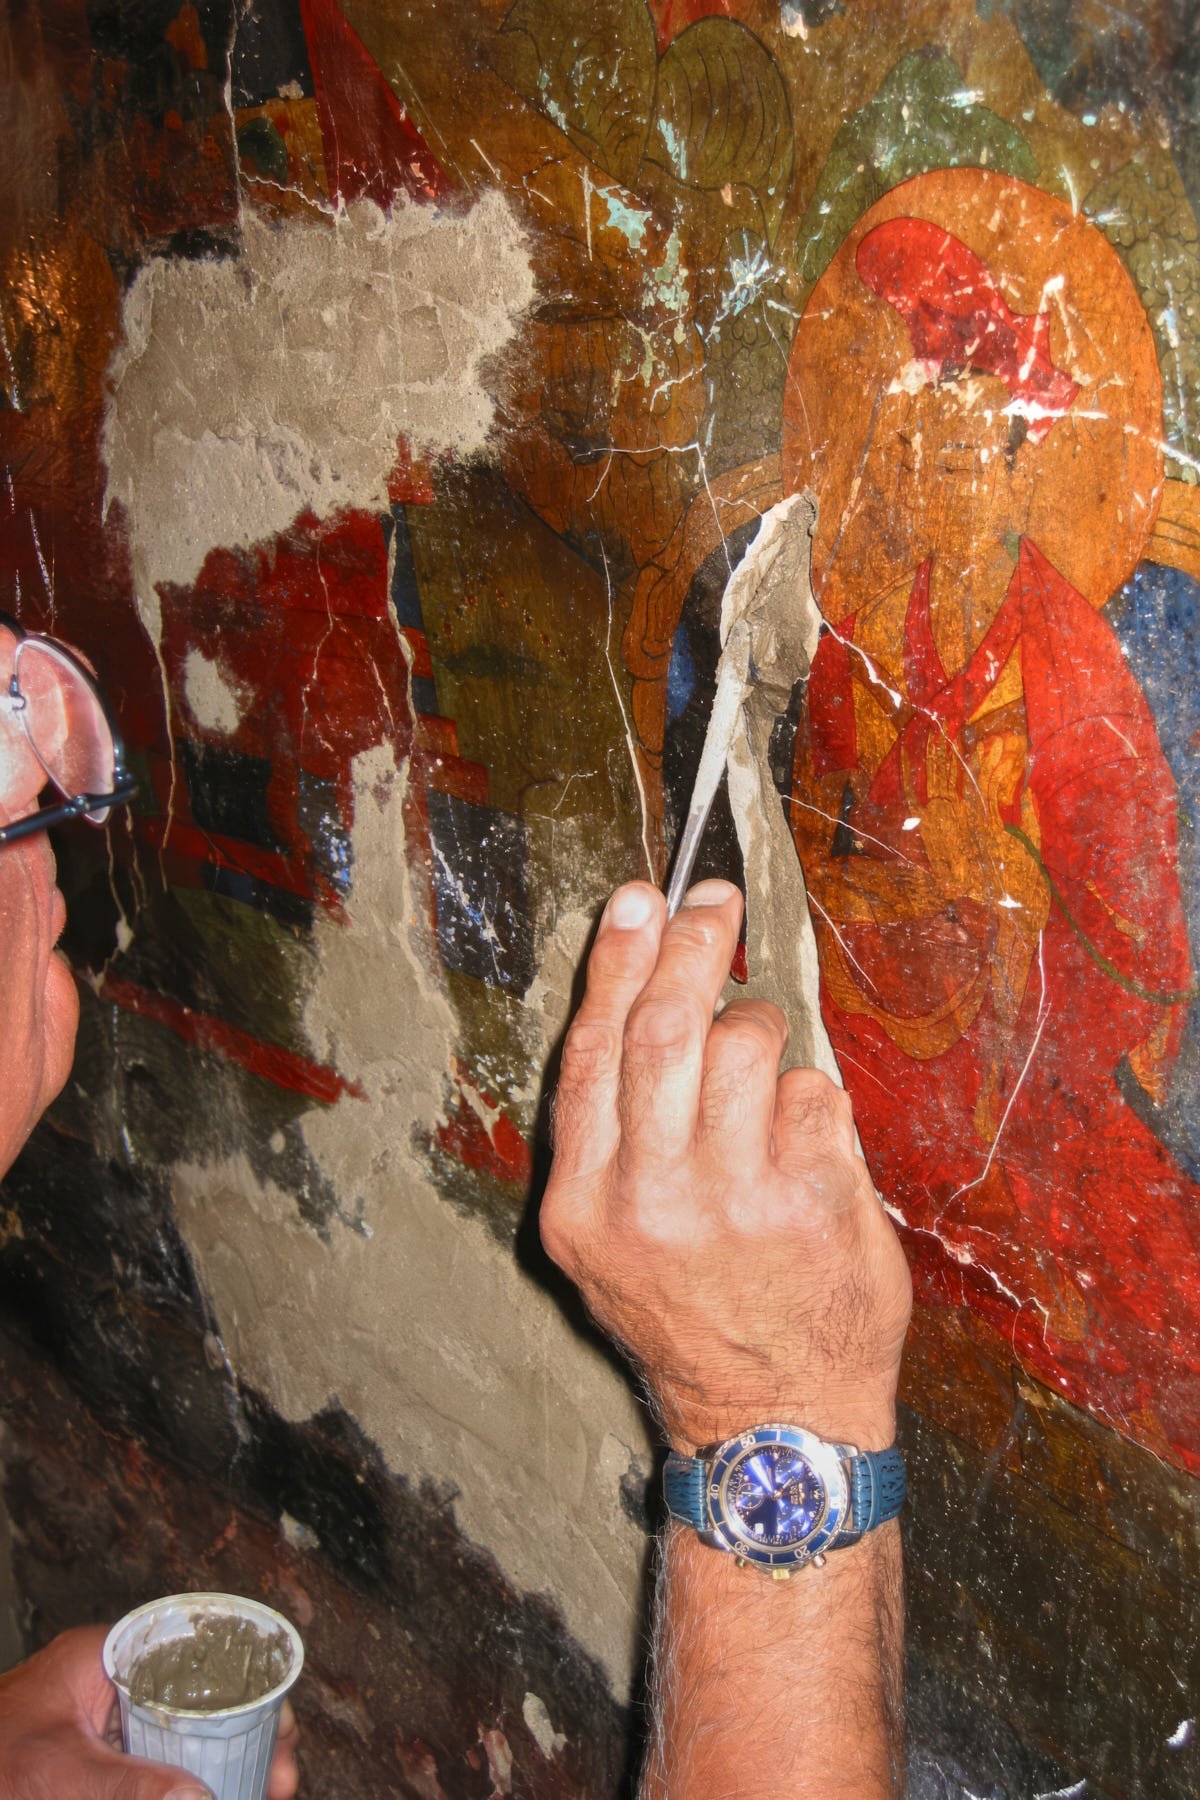
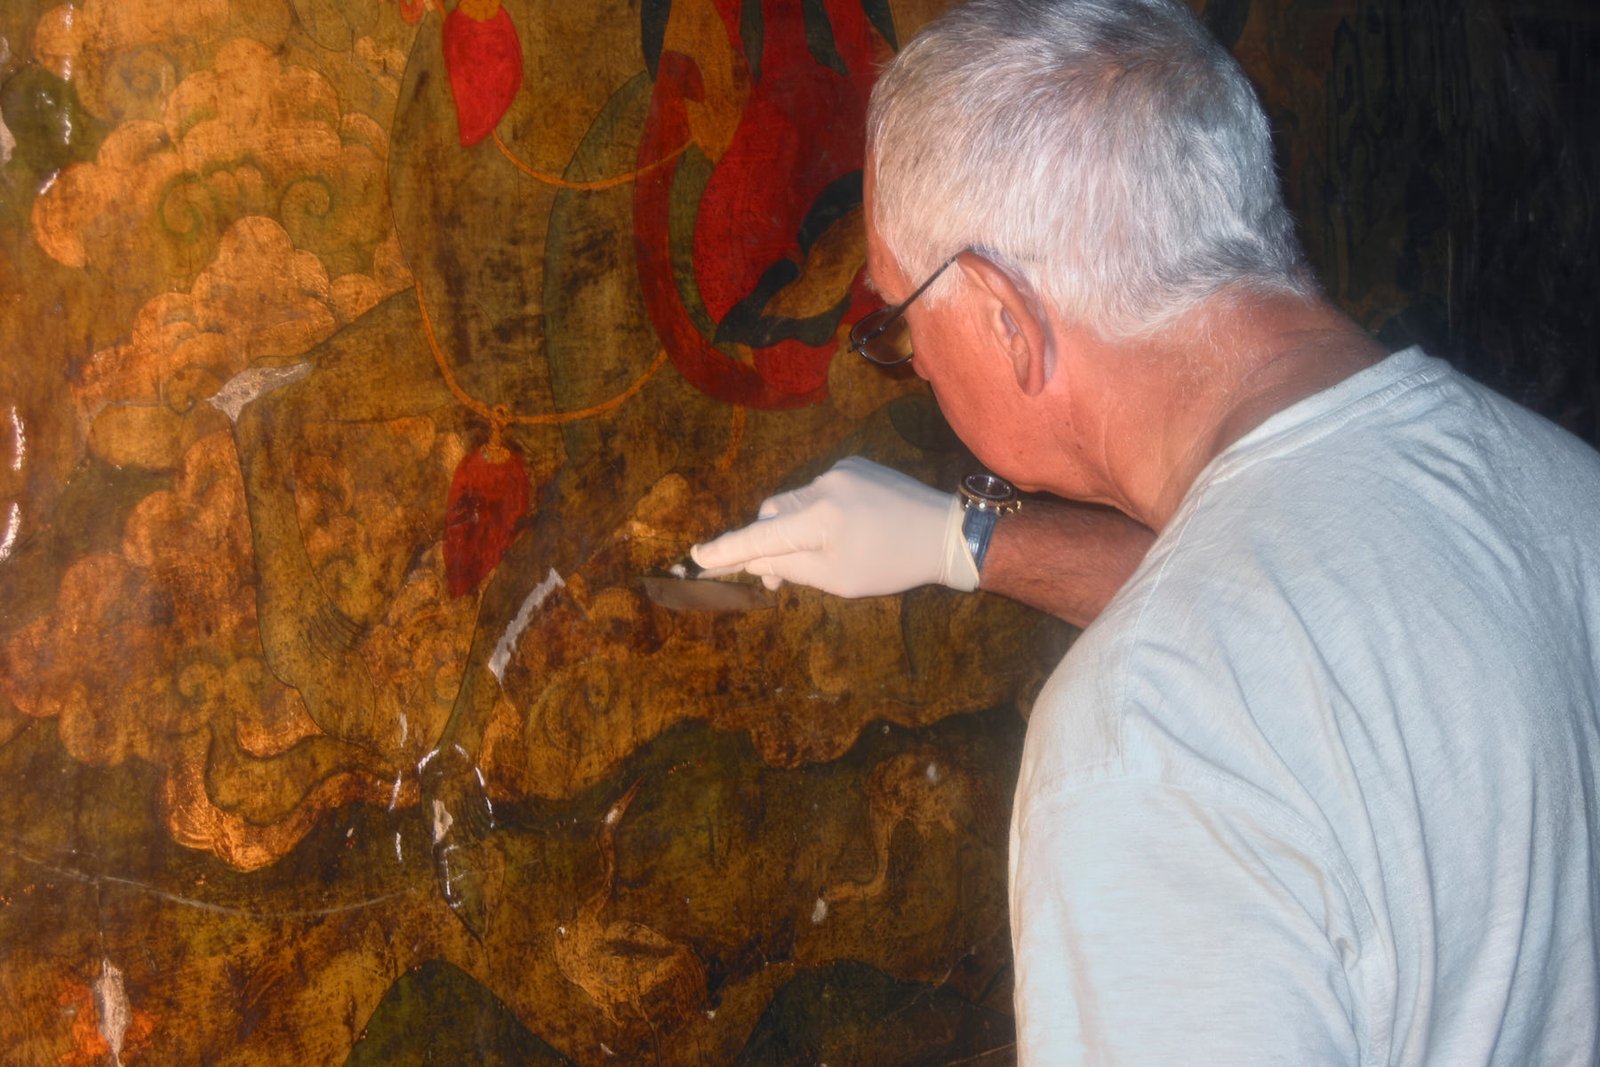
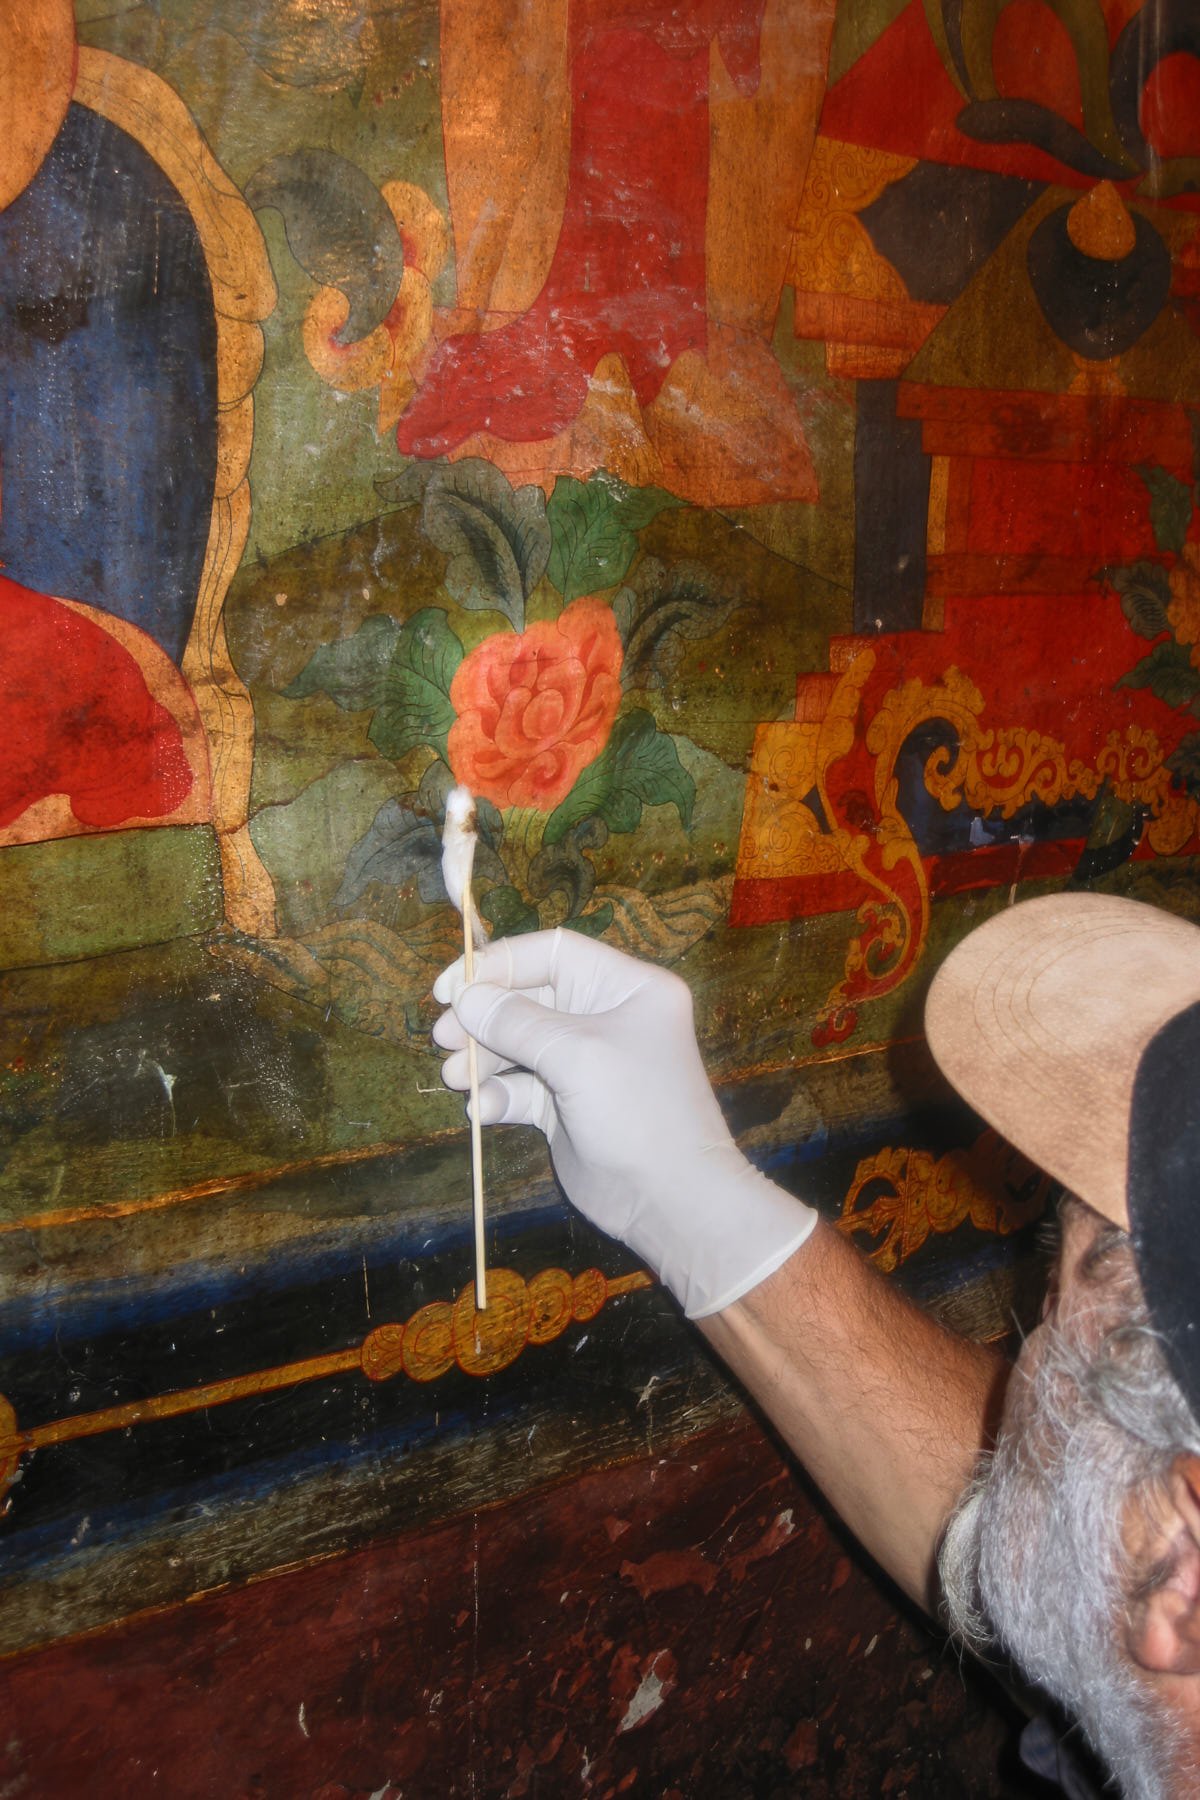
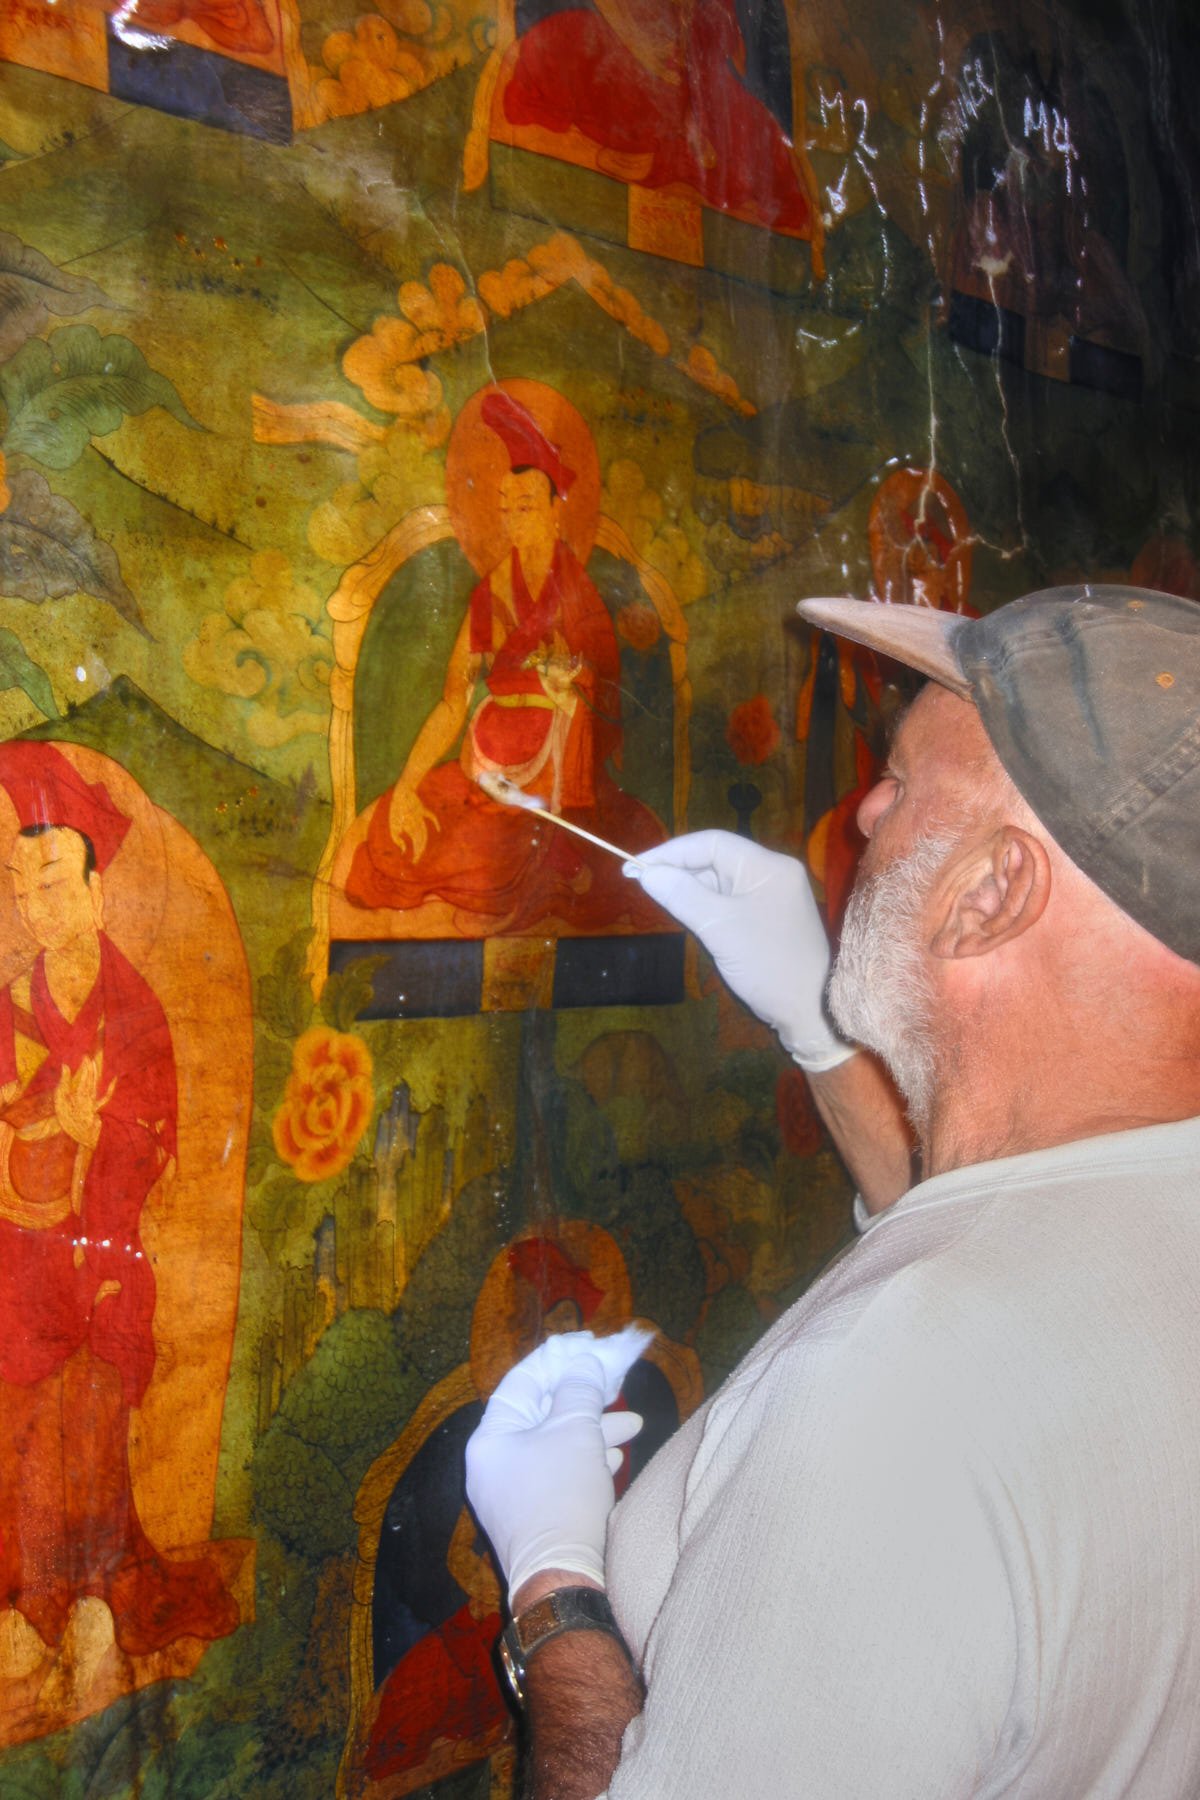
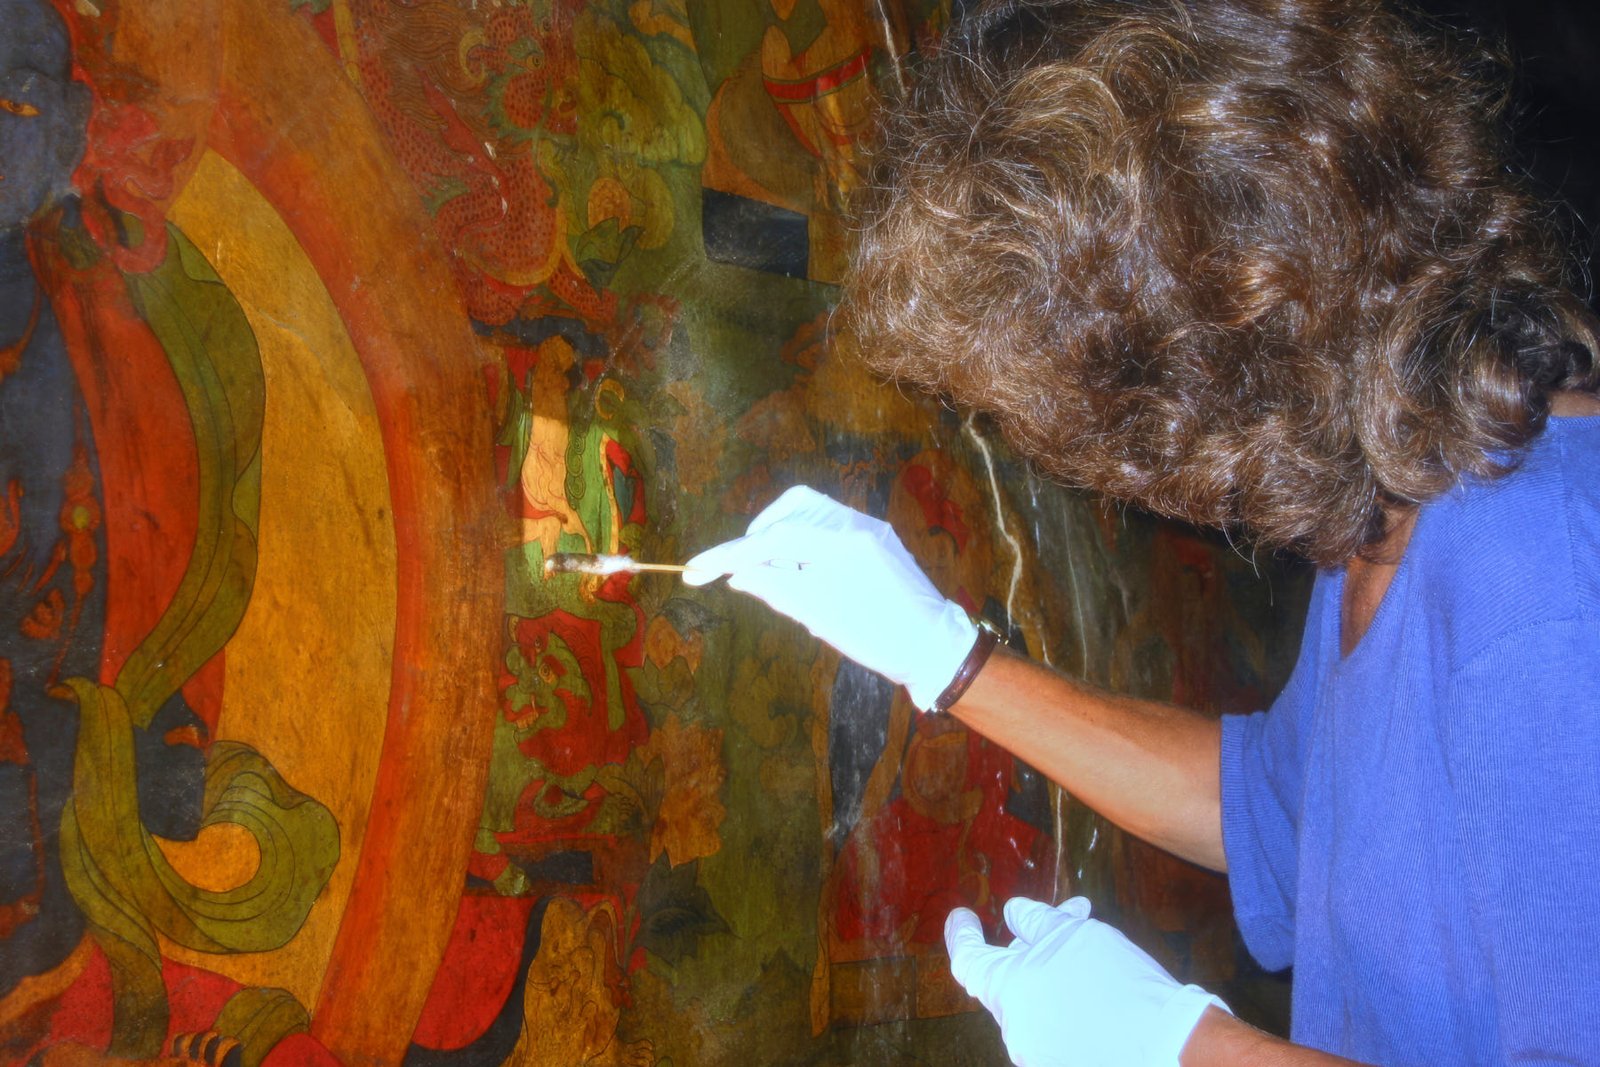
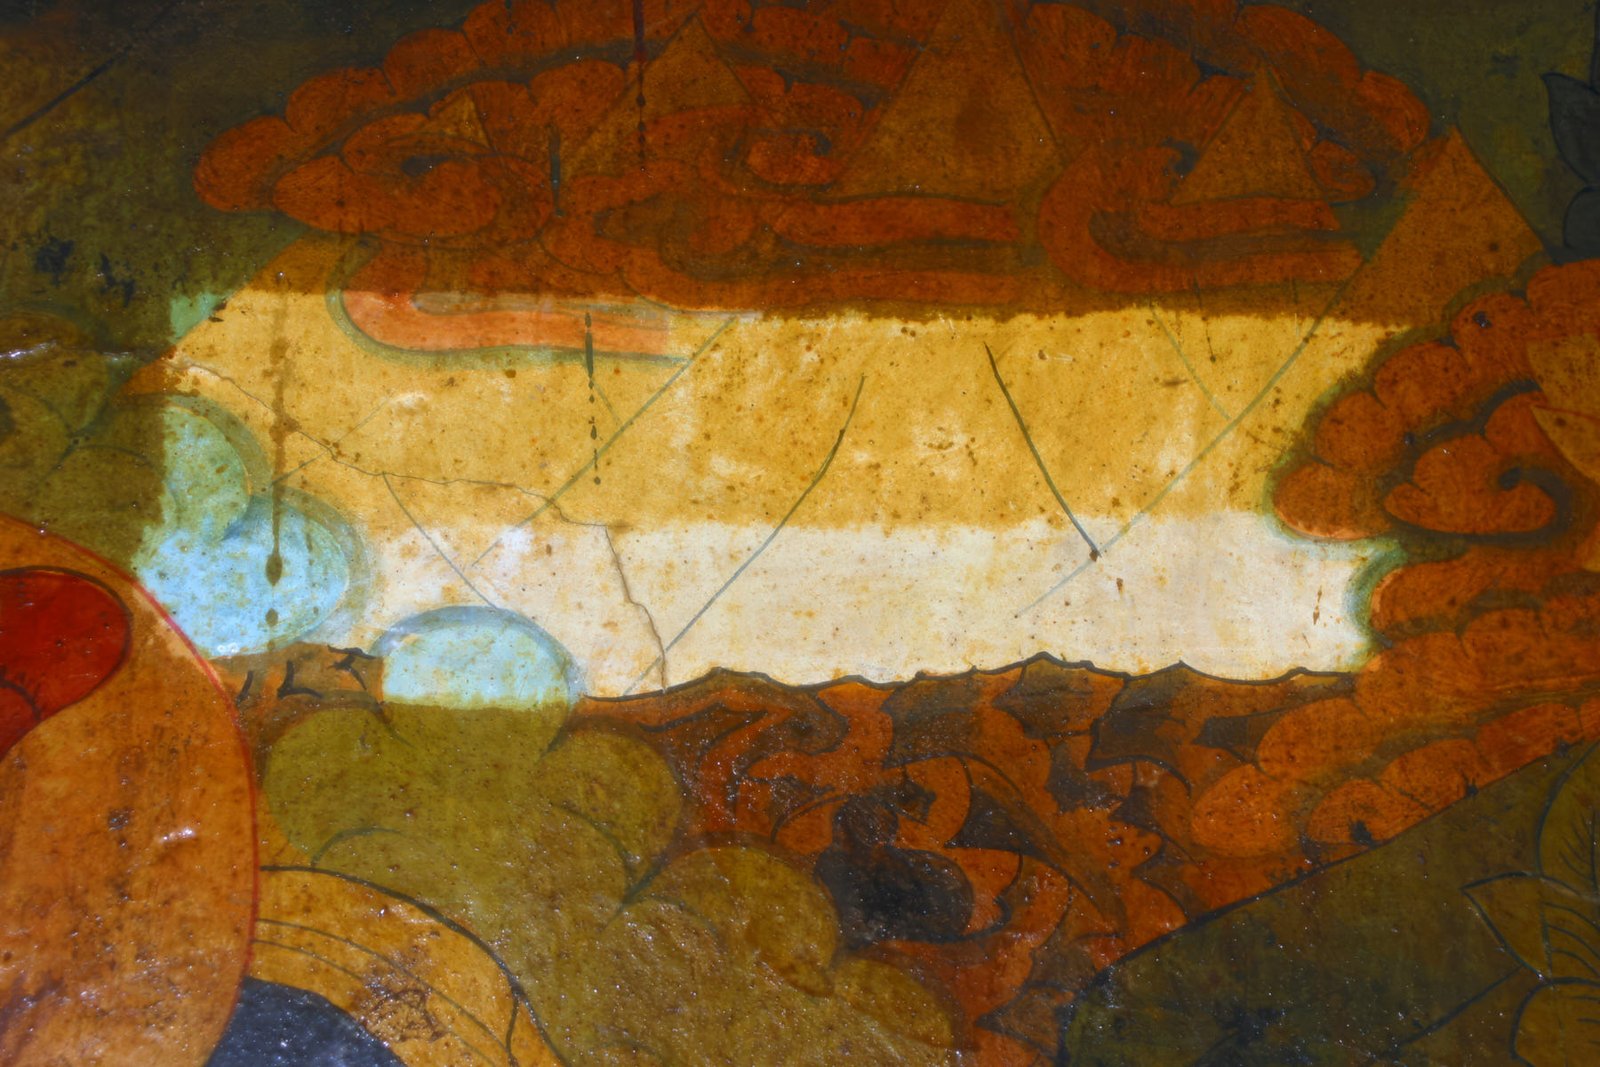
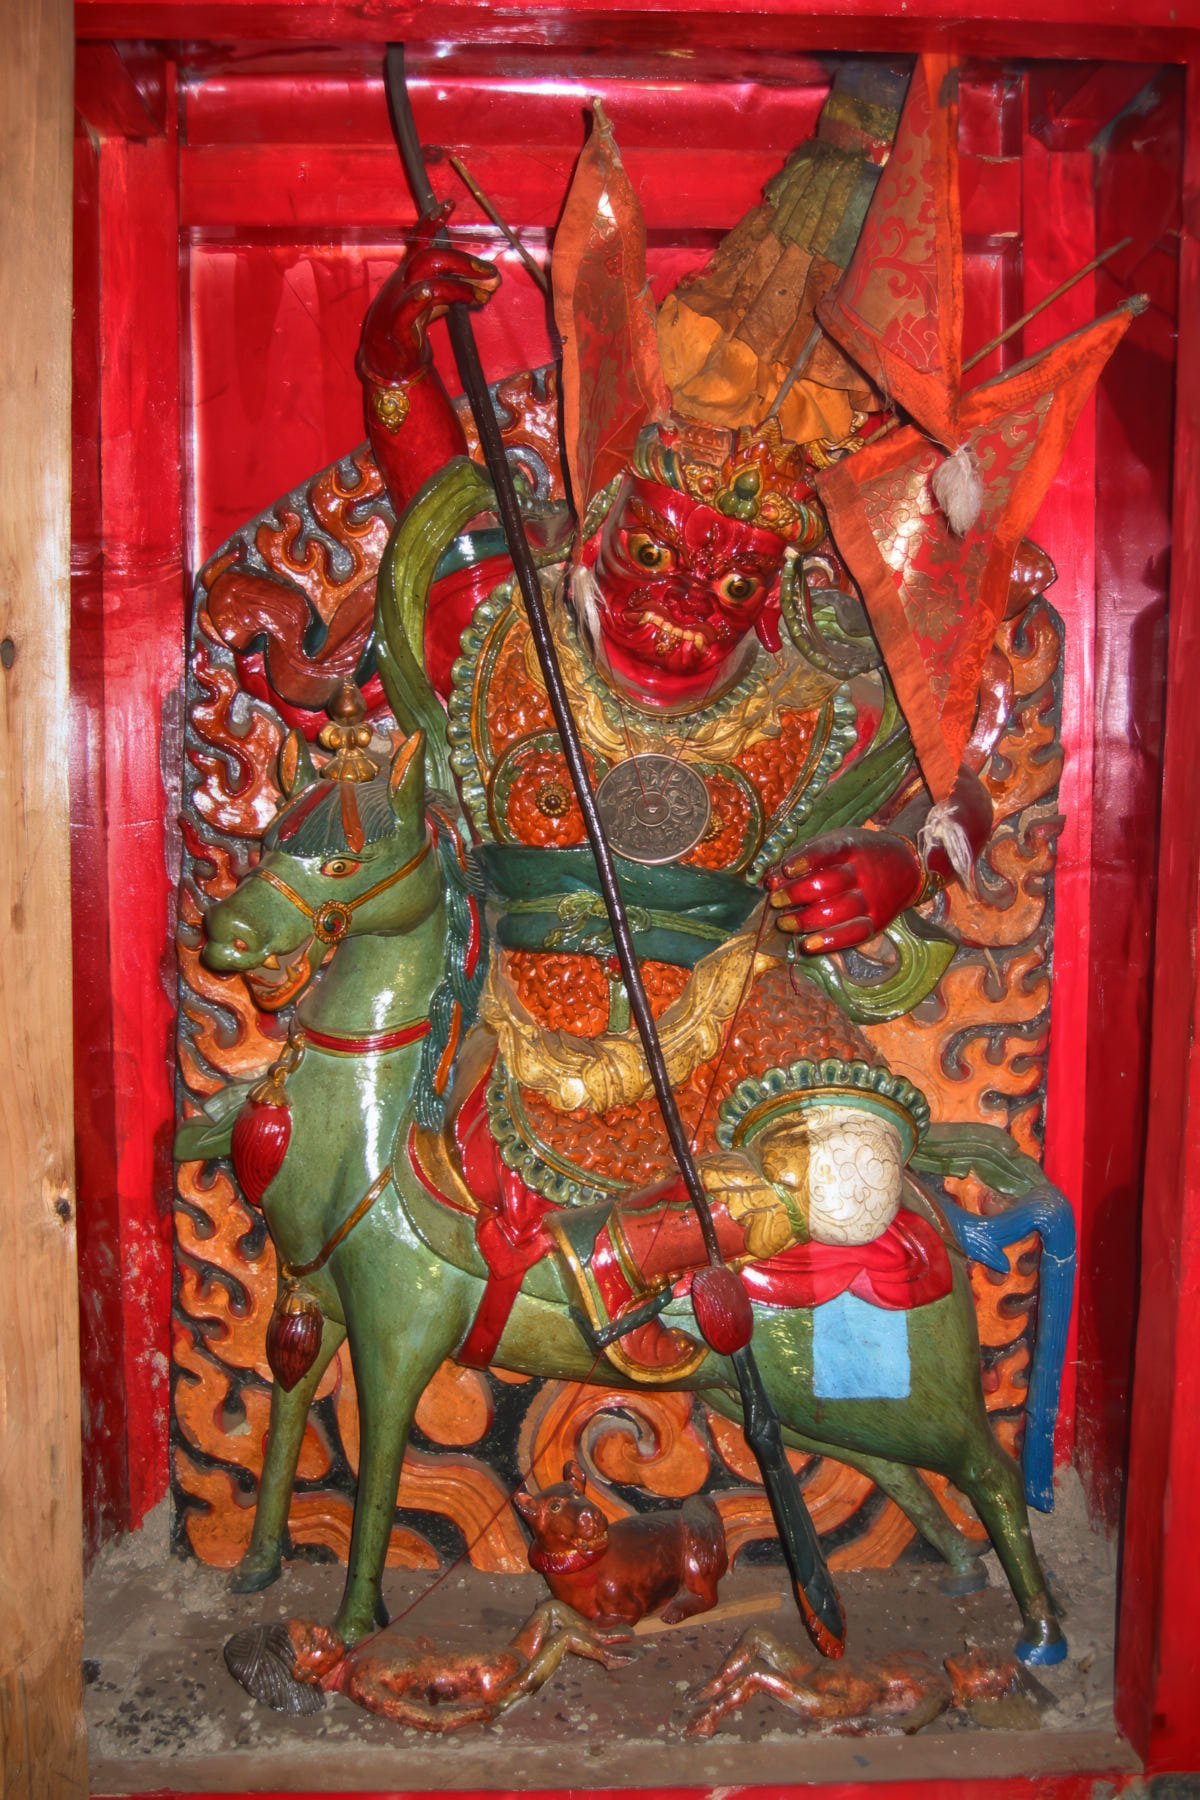
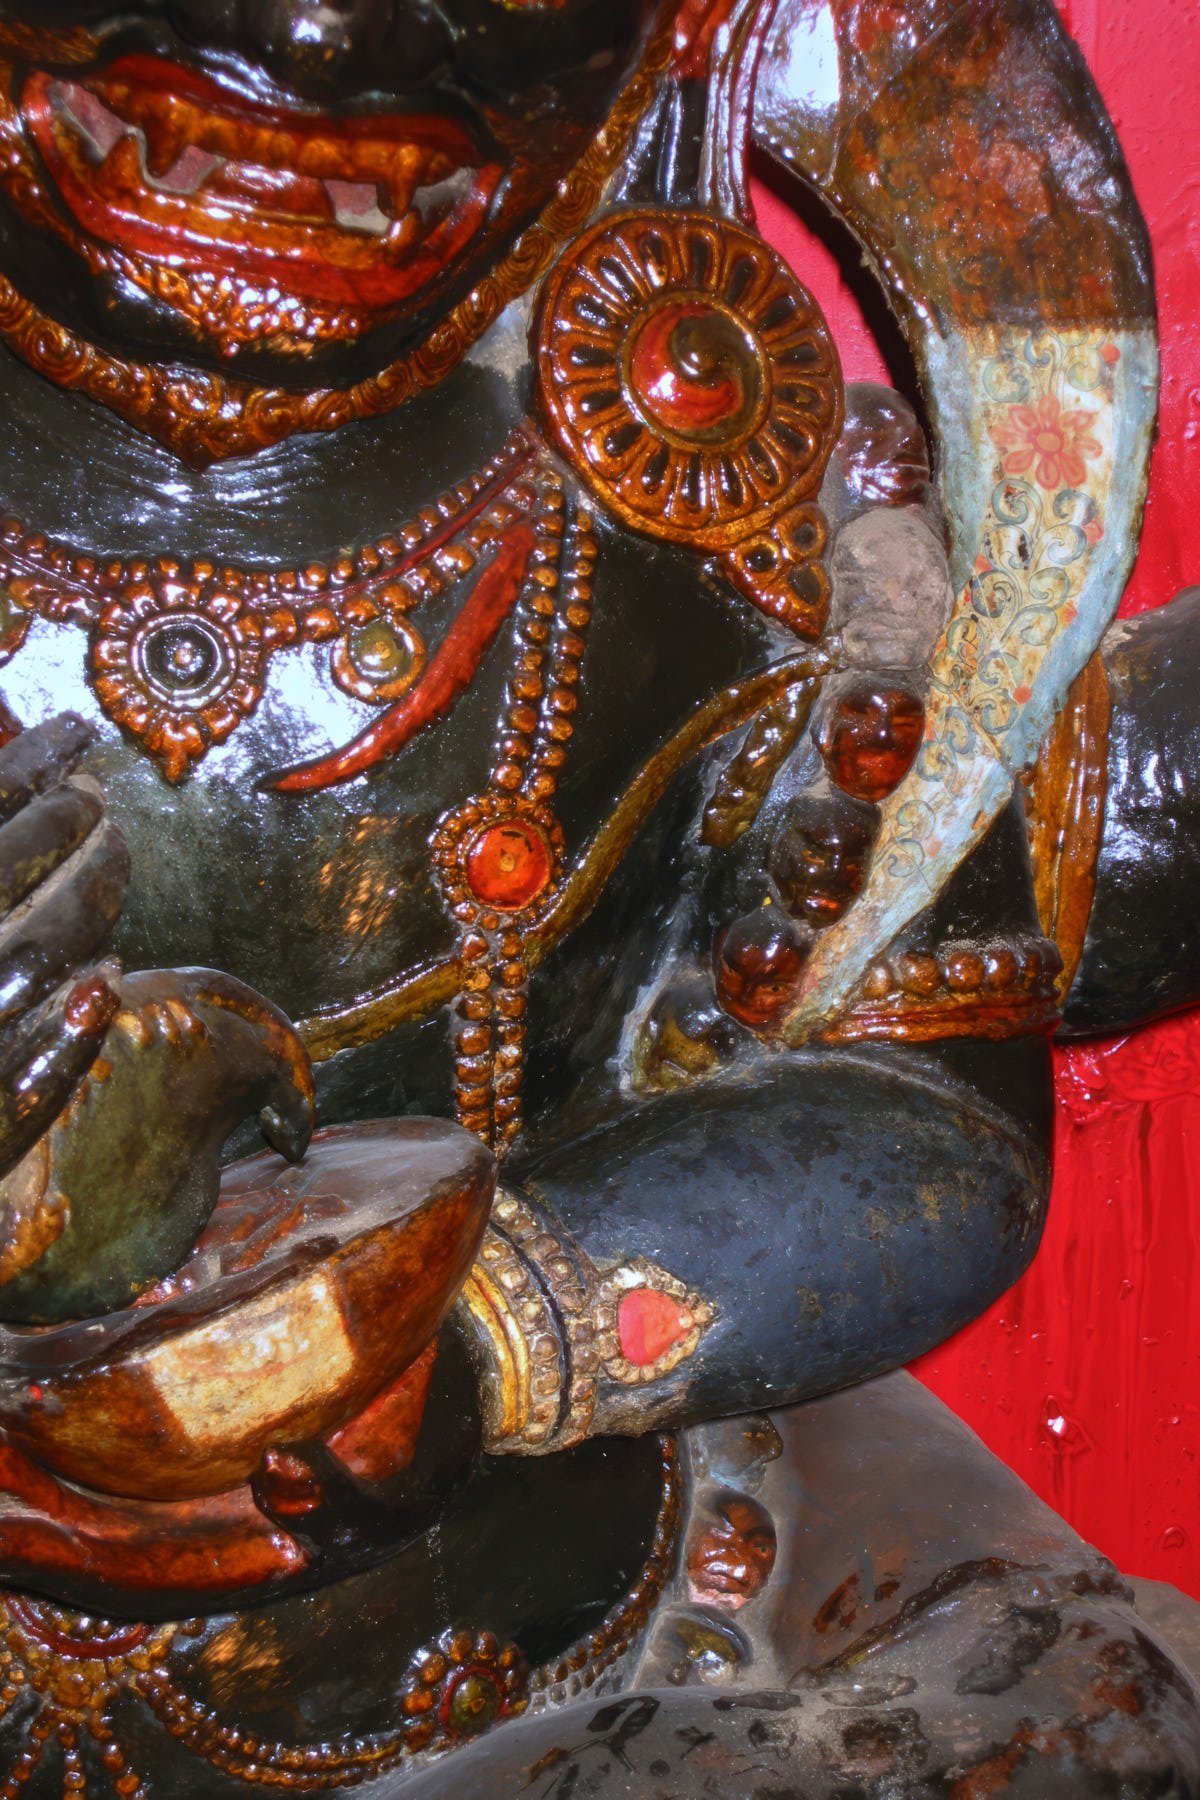
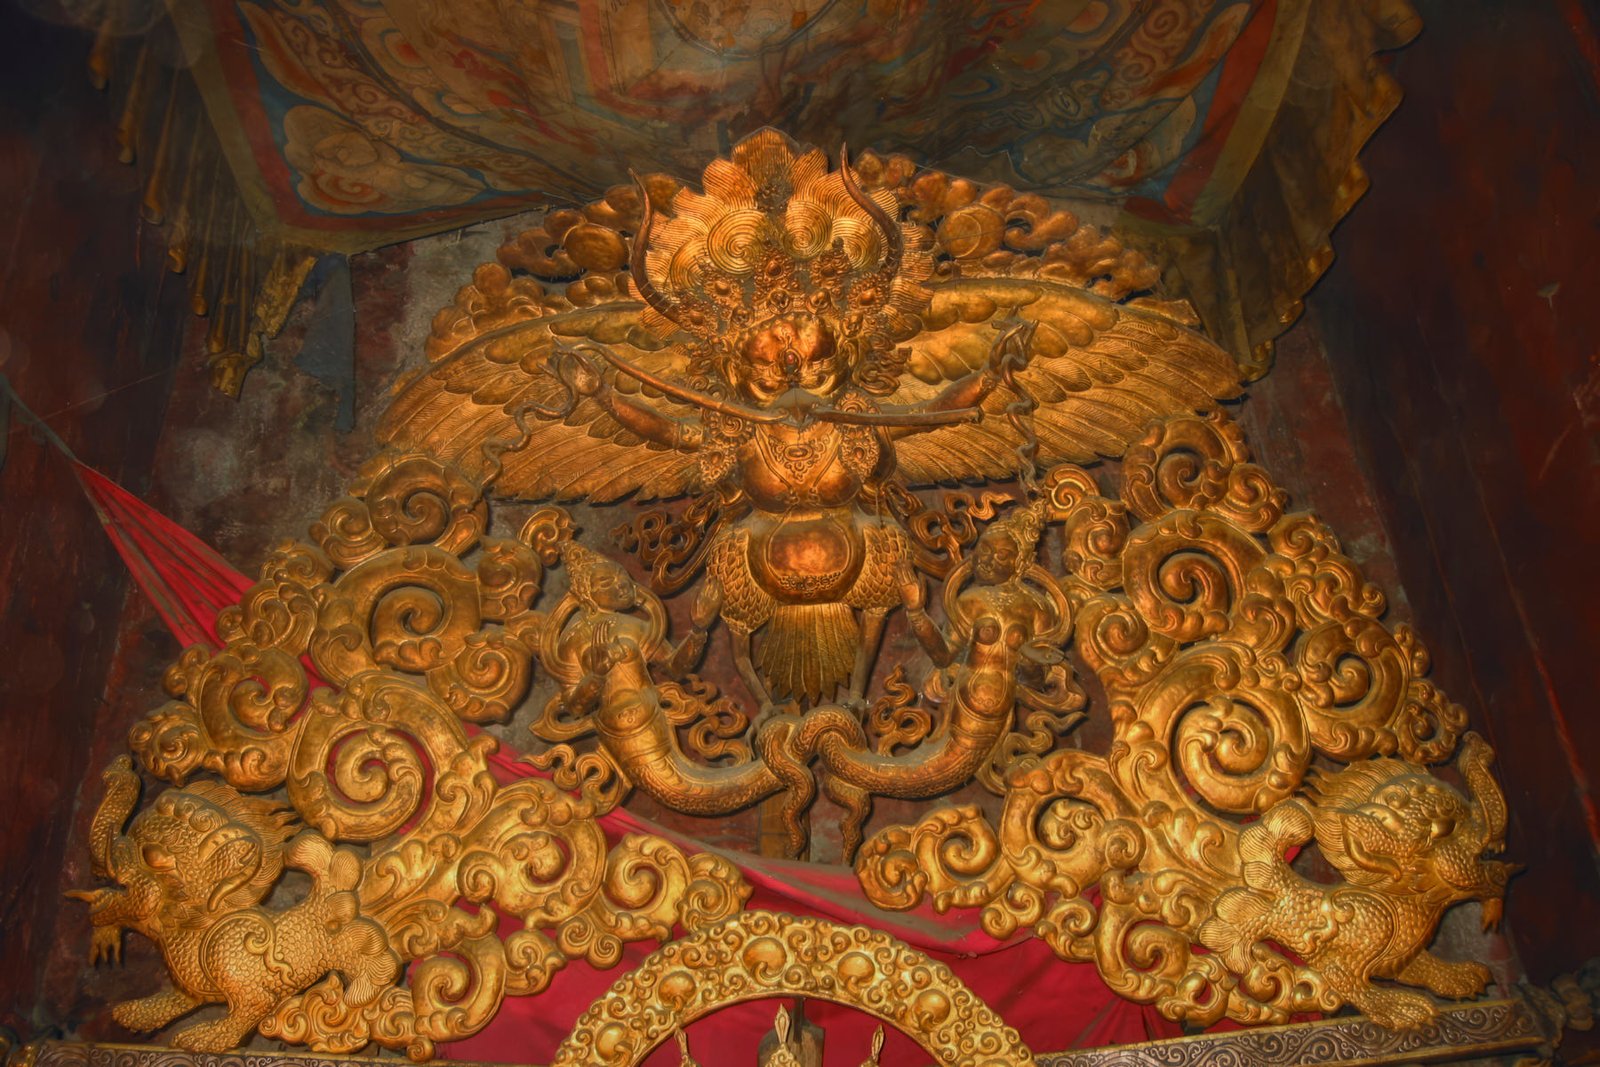
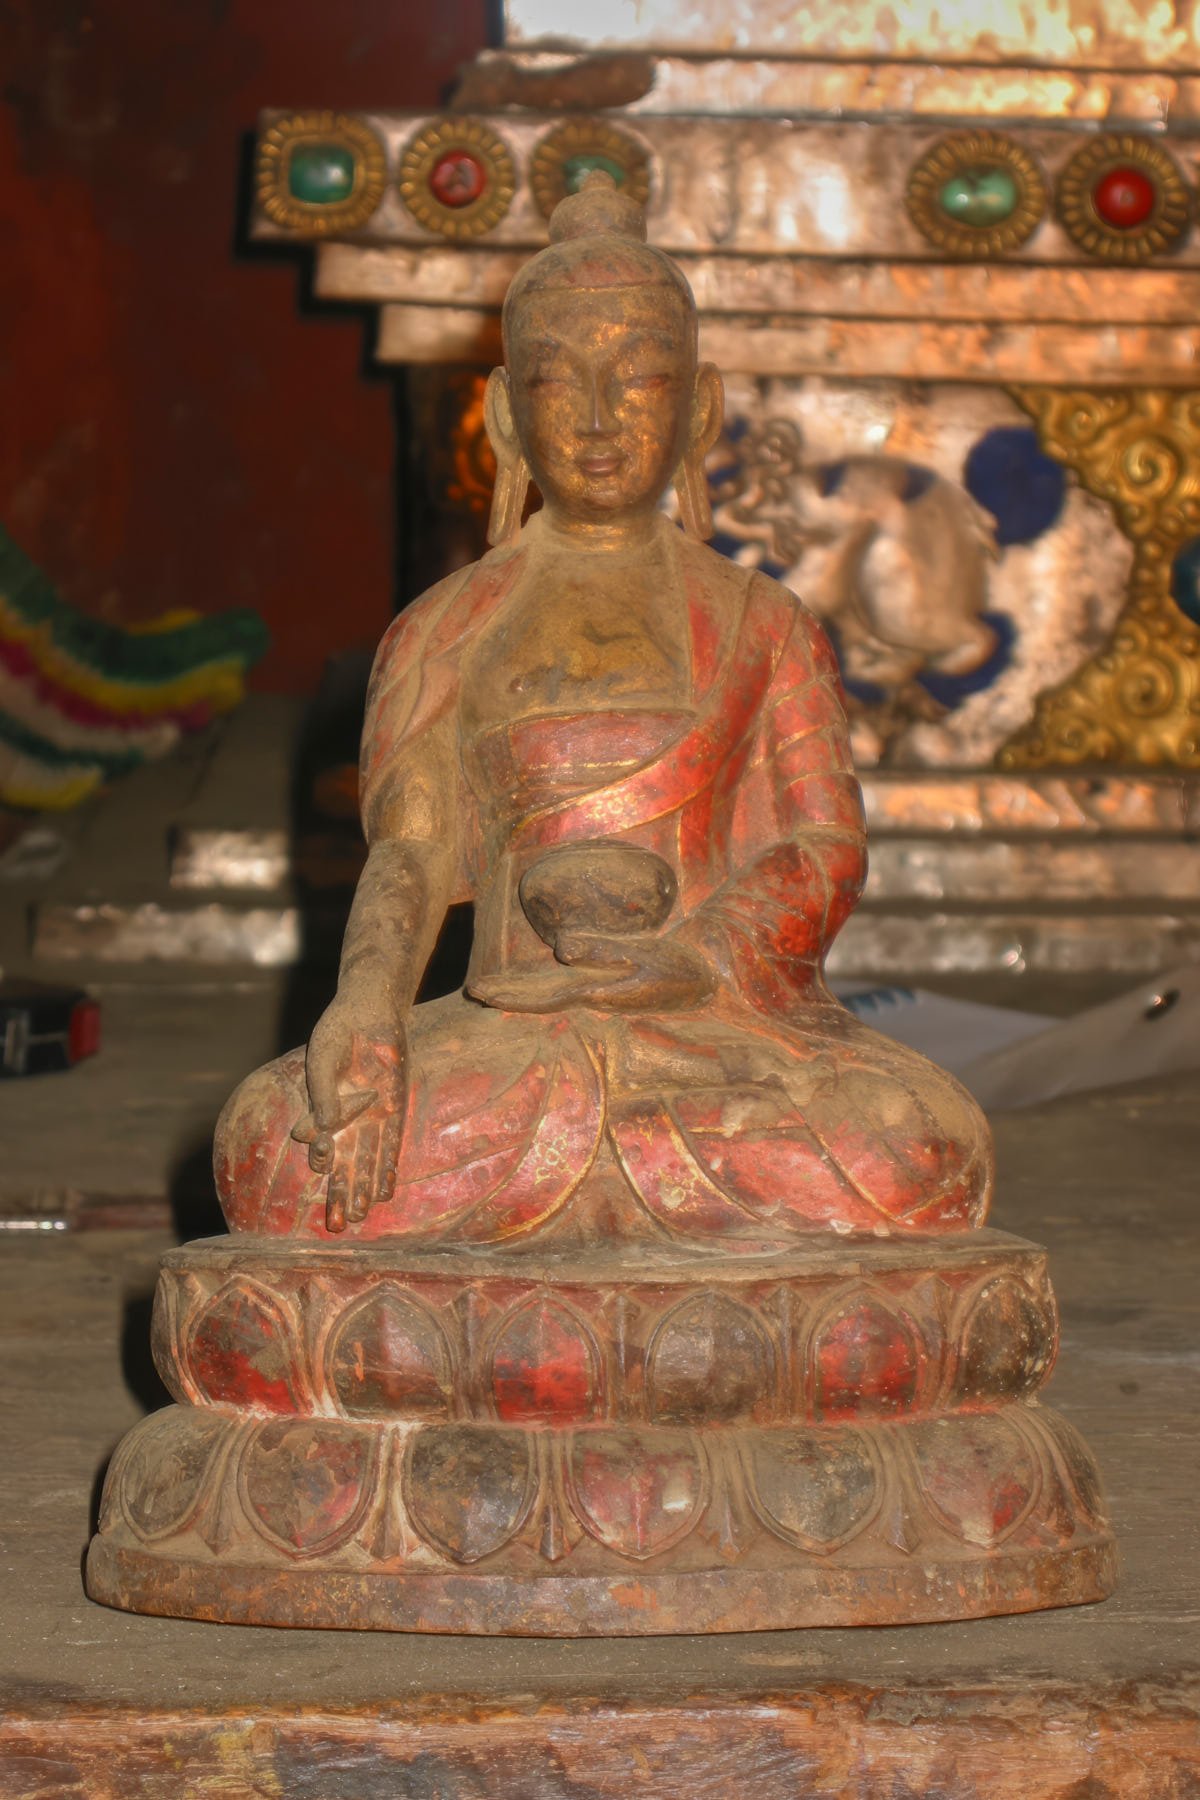
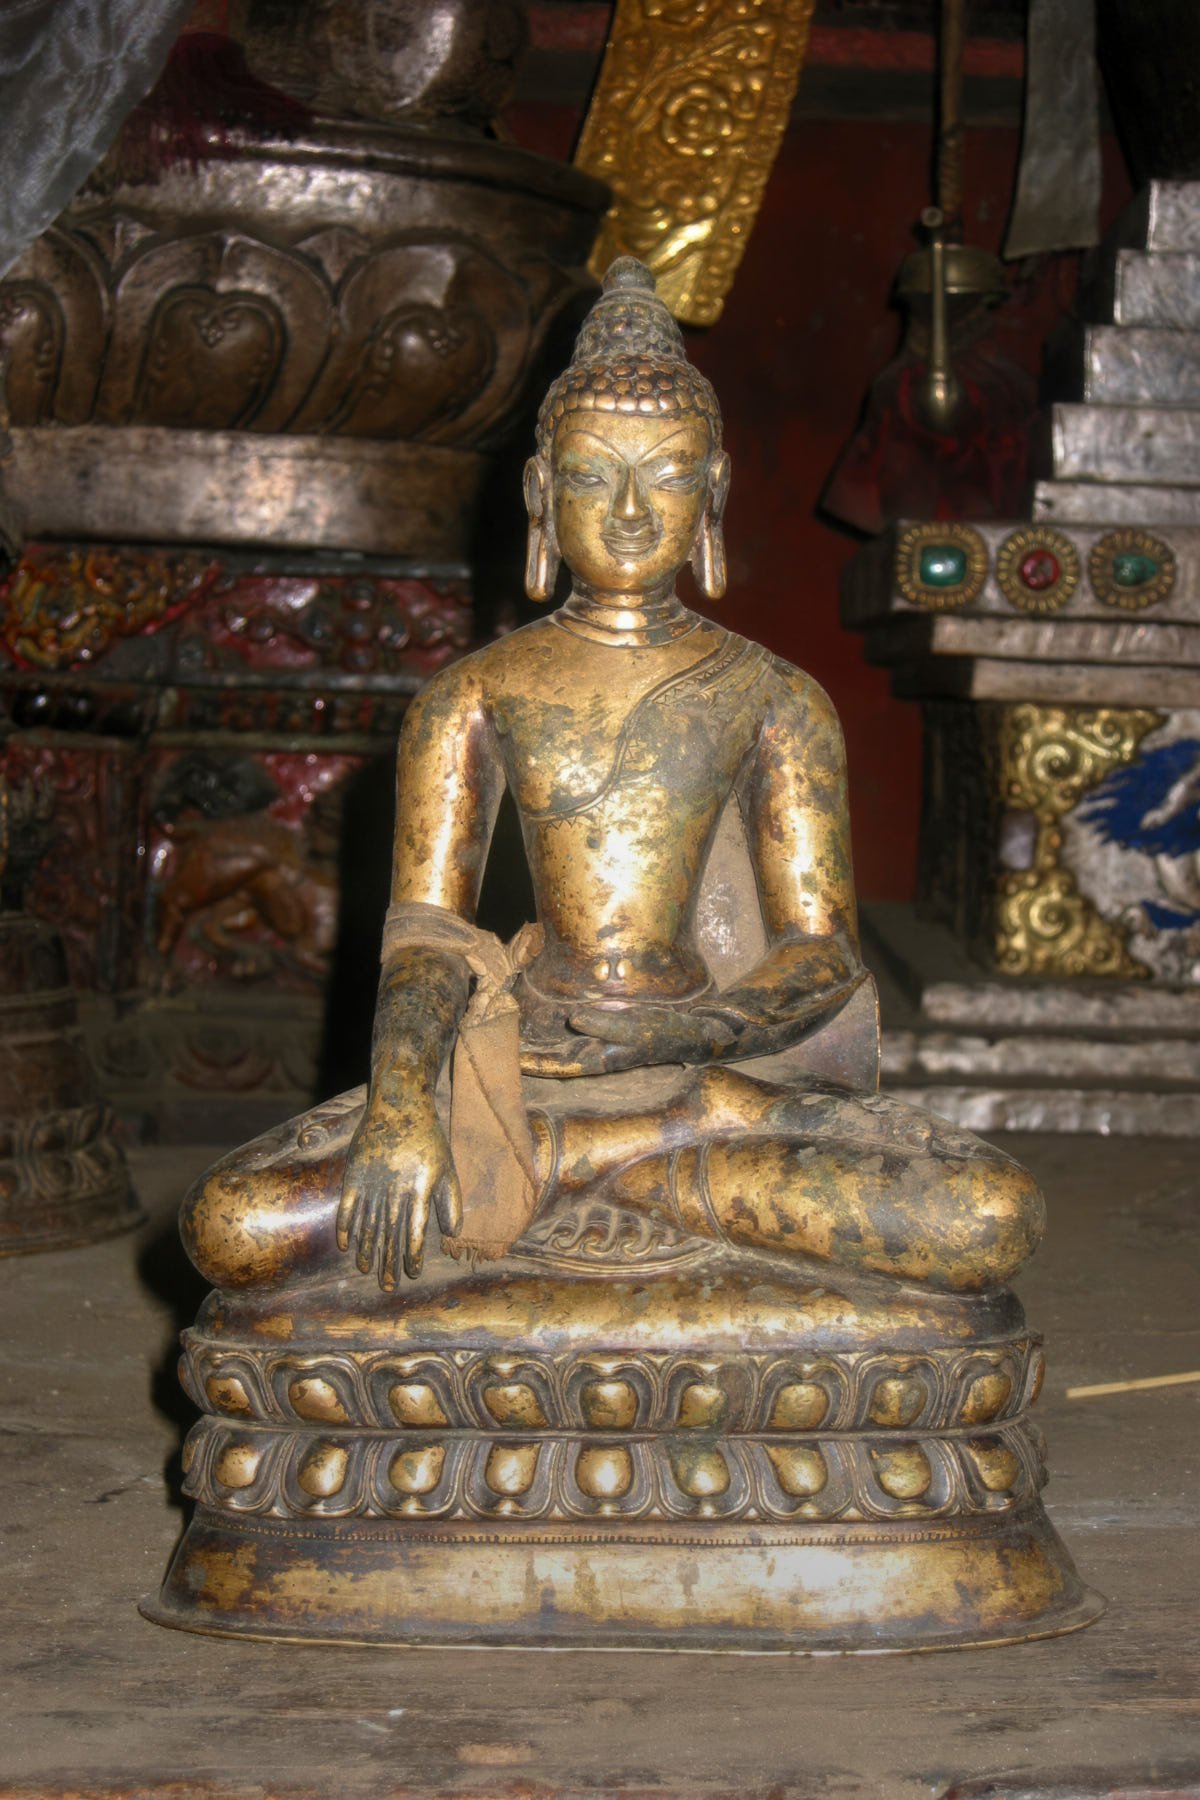
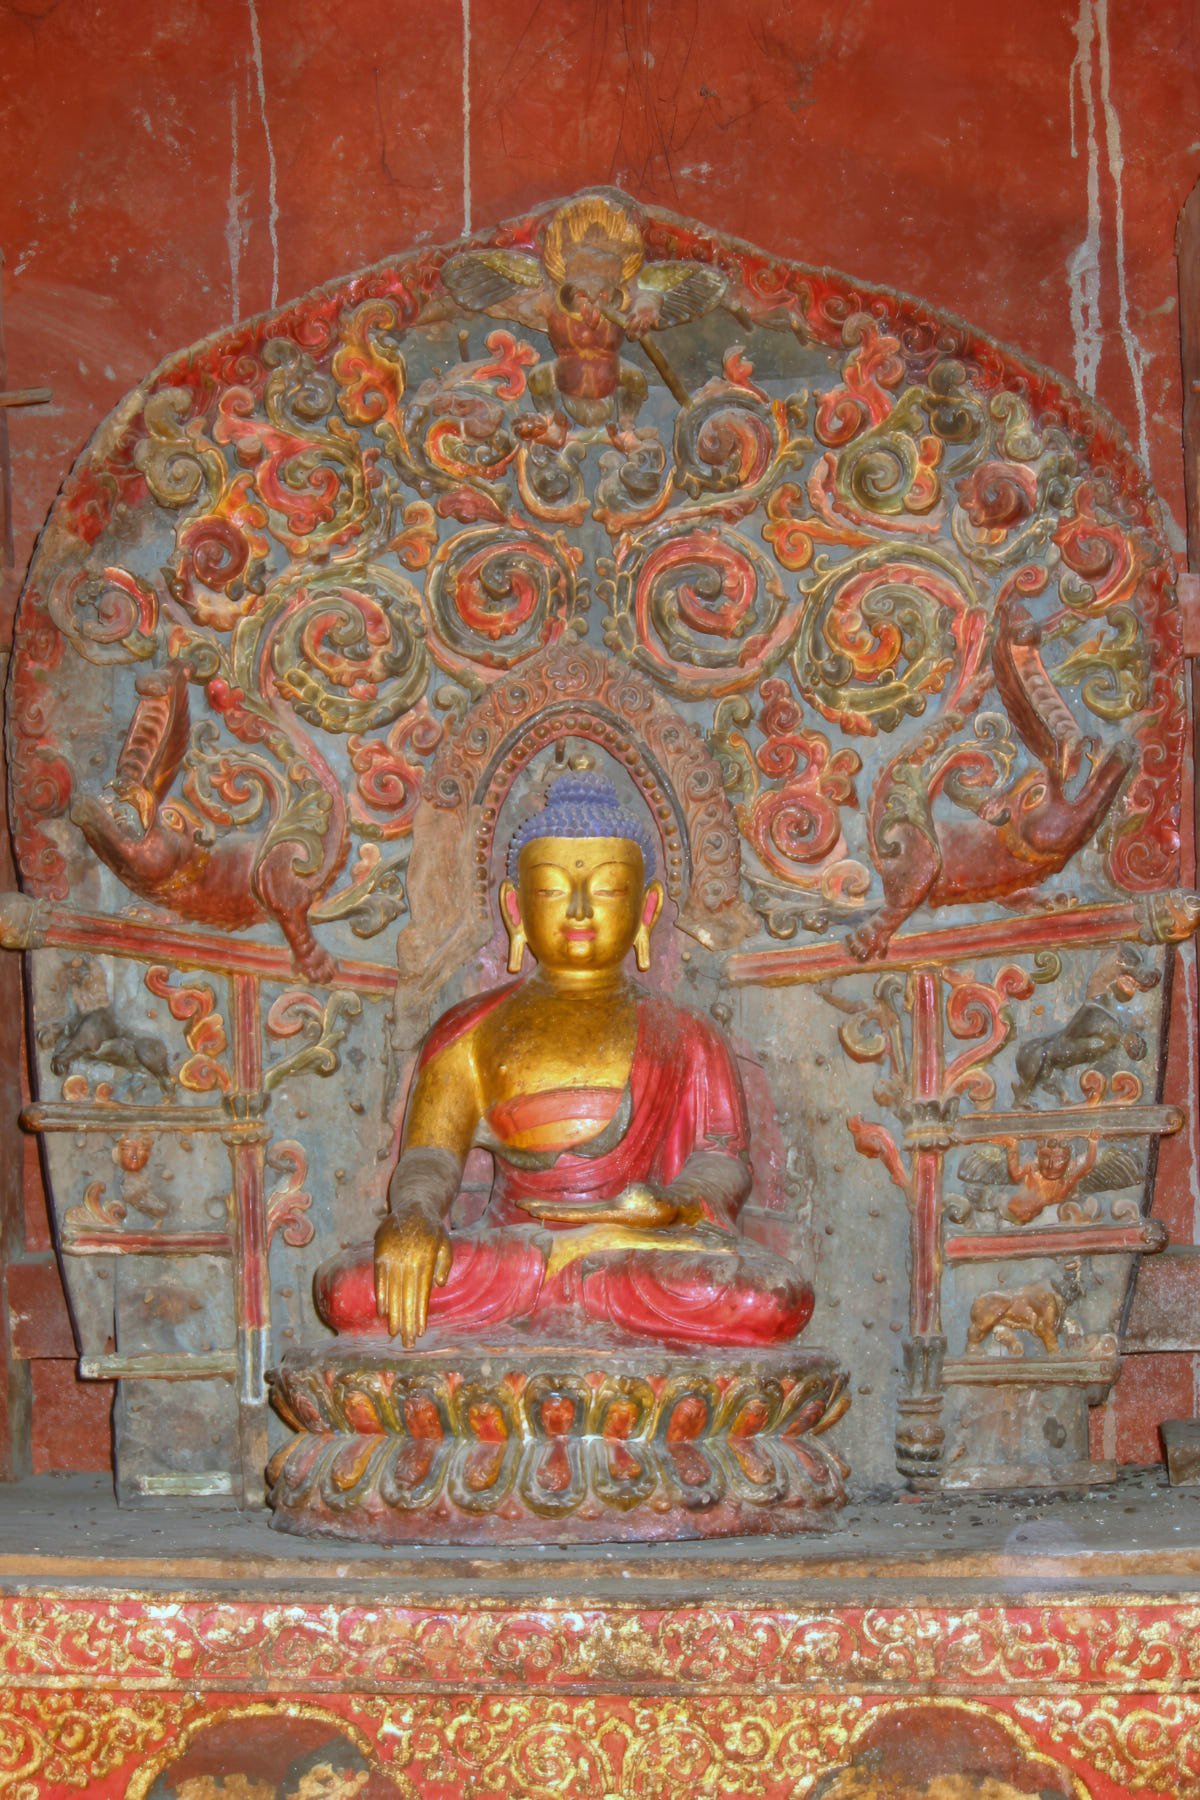
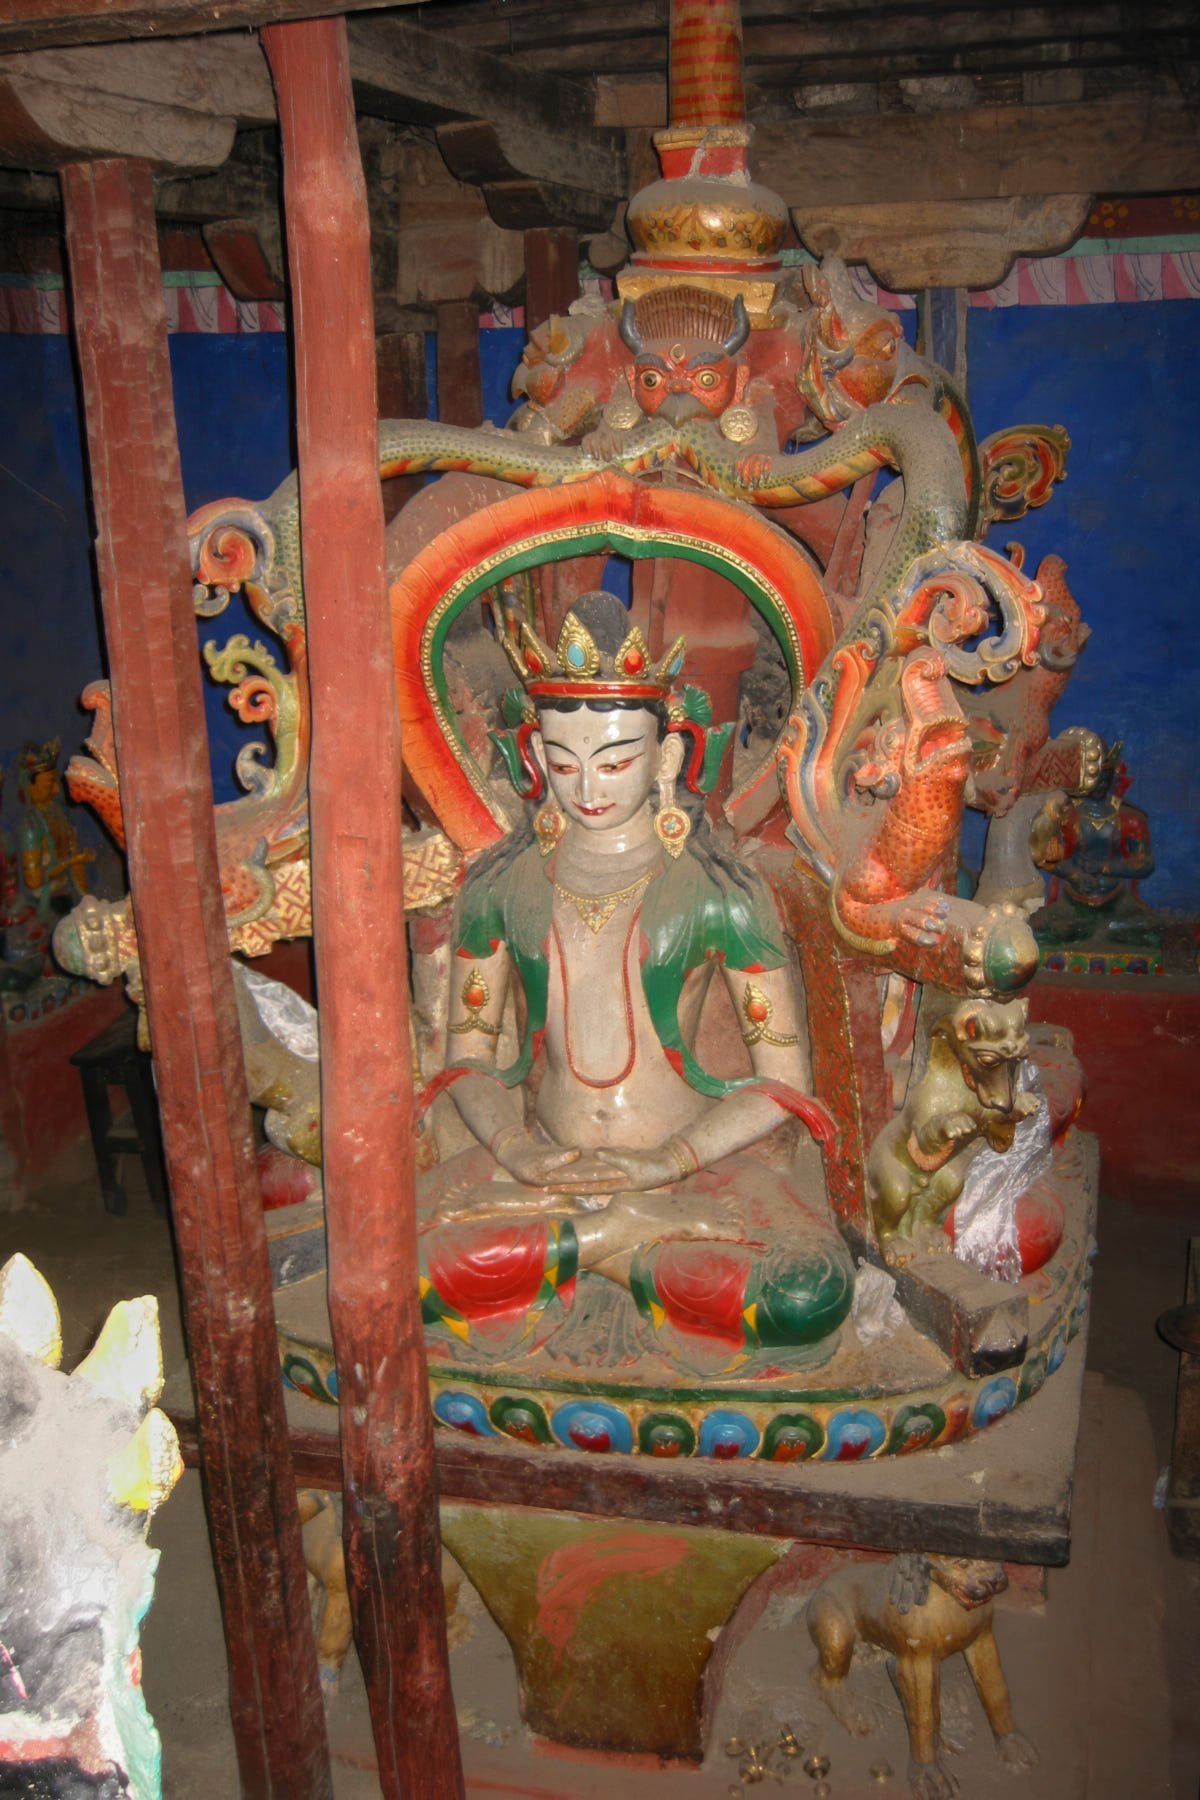
The project, started in 2003, was sponsored by The Rotary Club U.K. in collaboration with Nepal Trust and carried out by John Sanday Associates. The main aim was to train volunteer trekkers and locals in restoration techniques for the safeguarding of Halji’s cultural heritage. The first phase of the project consisted of emergency consolidation operations together with a study of the stratification of the soot and the varnish present on the surface of the wall paintings to find out the most suitable chemicals for their removal. In addition, cleaning samples were carried out in different areas so as to check the efficacy of the solutions. The cataloguing of all statues and artefacts present in the monastery was another important achievement. In total, 117 statues and chortens made from clay, metal and wood were identified, measured and photographed.

emergency consolidation

The purpose of the present mission was the fixation of dangerous painted fragments in risk of collapsing from the wall and the consolidation of detached preparatory layers of the wall paintings. Since it was impossible to complete the consolidation due to the short time of the mission, the whole painted surface was thoroughly checked and the areas in need of consolidation were marked with white chalk sticks. A further classification, according to the degree of damage, grouped the zones into three main classes of danger so as to have a clear idea of the priority of the work to be done.

The fixing of renders: Initially the most suitable point for injecting had to be chosen, preferring the use of existing cracks to piercing holes with hand-drills. Secondly, a surfactant agent was injected to allow the acrylic binder solution, which was injected later on, to better permeate through the detached renders. When the area to be consolidated was just lacking adhesion and it was detached without separation of preparatory layers, only an emulsion of the acrylic binder was injected to glue both sides of the renders. When the area to be consolidated presented detachment of preparatory layers, the emulsion had to be mixed together with very finely sifted local clays, so that the mortar could fill up the gap and glue the detached renders at the same time.

The fixing of paint layer: This operation was performed only if the preparatory layers were sound enough; otherwise a consolidation of the renders was needed prior to any intervention, taking care to not touch the scales/flakes. Eventual deposits of dust, cobwebs, etc. had to be removed with soft brushes or rubber siphons. Japanese tissue paper had to be carefully applied on the area to be treated with brushes soaked in water. In some cases it was not possible to apply the Japanese tissue paper because of the size of the scales; hence scales had be softened by injecting or spreading a surfactant solution. An Acrylic binder emulsion in water was then injected taking care to spread it thoroughly underneath the scales. Then the paint layer flakes were unrolled back in place very carefully using a soft synthetic sponge soaked in water. A double-headed spatula, wrapped in plastic foil, was used for pushing back curled scales. While pressing the flakes, eventual excess of the acrylic binder was removed and rinsed meticulously with a wet sponge. Then cotton swabs soaked in water were used to remove the excess of binder from the surface of the wall paintings and the Japanese tissue paper had to be removed while still wet.

the cleaning

A series of cleaning tests were carried out on the two rooms hosting wall paintings in order to find out the most suitable chemical for cleaning the paint layer from aged varnish and butter lamp smoke. The first task was to remove dust and cobwebs with long bristle brushes in the areas chosen for the cleaning samples. The two coatings of varnish present in the main shrine were successfully removed by using a mixture of organic chemicals. The cleaning samples were carried out using Japanese tissue paper and cotton swabs: the former was applied on the area to be cleaned and the latter, soaked in the same mixture of organic chemicals, were used to melt the varnish coatings. The rough plaster, applied to cover cracks and holes by the locals in recent time, was removed with cotton compresses soaked in water. When the rough plaster was swollen, its removal was achieved by using bamboo sticks and surgical knives. The deposits of dirt and the soot from smoke and grease present on the wall paintings of the second room were softened by short application of an organic chemical by brush. Thereafter the soot was removed with cotton swabs soaked in the same chemical. The rough plaster, applied to cover cracks and holes by the locals in recent time, was swollen with cotton swabs soaked in ethyl alcohol because the wall paintings' binder was extremely water-sensitive. The swollen rough plaster was removed then with bamboo sticks and surgical knives.

the end

The project run only in 2003 and unfortunately it was closed soon after the end of the first mission due to safety concerns. It was a time of very dangerous turmoils in Nepal and the district of Humla was the target of many raids as a consequence of the civil war. After a couple of bombs blasted in Simikot, where one of the logistics offices of the project was based, the foundations behind the project decided to close it permanently.